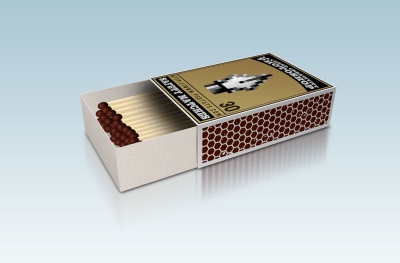
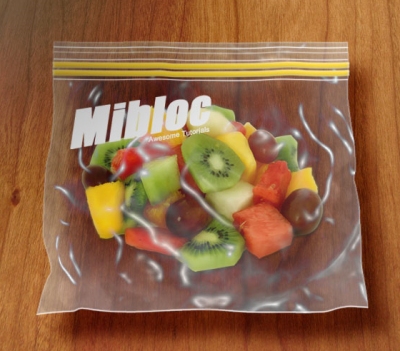
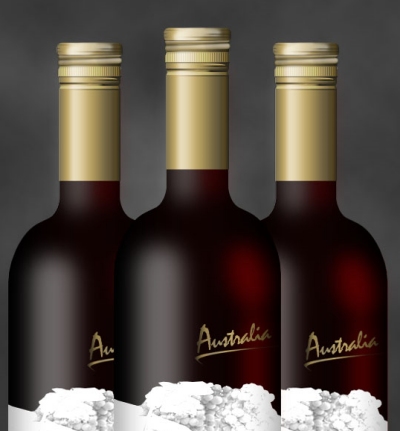
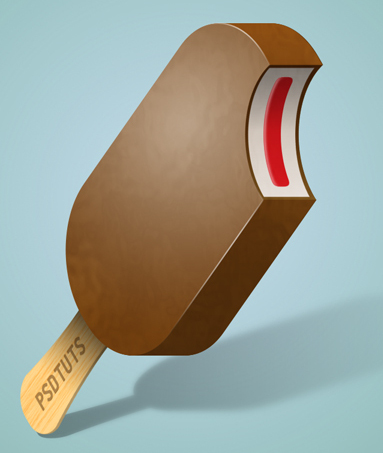
Photoshop has been widely used by designers nowadays to create realistic result on their work. In this post, we will feature 60 realistic tutorials that will help you learn some tricks for you to enhance some of your design work. These tutorials can also be used to improve your design skill or just use for any inspirational purposes.
Informative
All General Articles can be found here
15 Excellent tutorial on Logo design in Adobe Illustrator
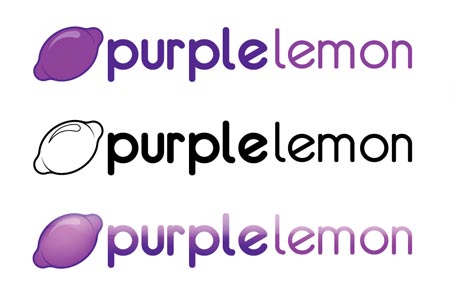
Logo design is one of the many basic of designers job. If you are wondering how other designers design their logo or what procedure did they follow, this may be the resources you are looking for. In this tutorial, we will bring you some of the excellent tutorial available for Adobe Illustrator on teaching and showing you some of their logo design work and procedure. Nonetheless, if you are trying to learn some technique for designing a logo with Adobe Illustrator, this is some good knowledge you must read.
Designing a logo from scratch part 1
Part 2
Photoshop CS2 Splash
Suns Logo
Swan Logo
How to Design a Logotype from Conception to Completion
Add Some Diamond Bling To Your Logo
Logo Design Process and Walkthrough for Vivid Ways
The Logo Design Process for Ultimate Potential
Design a Grungy Circular Logo
Creating a Rockstar Brand, Logo & Styleguide in Illustrator
Logo Design in Adobe Illustrator
Logo Design Project Step by Step Walkthrough
Goplan 2.0 logo creation process
BzZz, Create a Fly Logo Design Part 1
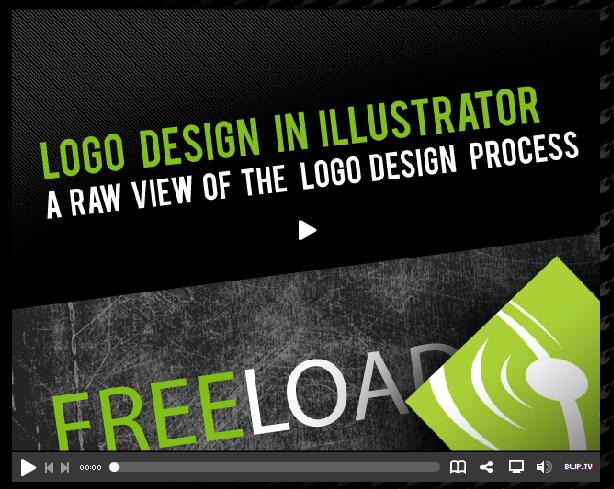
Raw Logo Design in Illustrator CS4
Adobe Photoshop Model Photo Touch Up Techniques
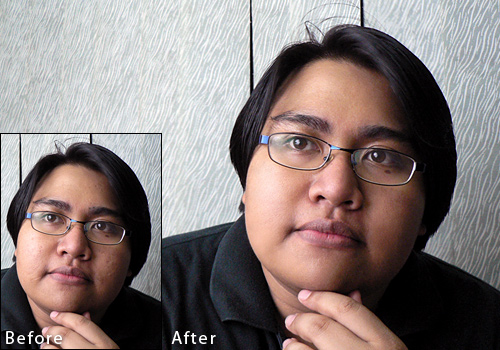
Photo touch up has been an important aspect for both professional and non professional nowadays. This is something most of us with a camera must learned! If you are a web designer or want to walk down designers path, this is a resources you must have. The differences between a photo that doesn't applied these touch up techniques and those that does can be seen obvious. Don't believe me? Watch the video below for some extreme Photoshop makeover. Definitely inspire you to see what resources i have installed for you!
This article will try to provide you with model photo touch up techniques which uses Adobe Photoshop that are both awesome and useful. The article will be split into few sections for easy navigation to bring you the place you want to touch up on your photo! Ready to make over?
P.S: These are all pure articles for Adobe Photoshop touch up make over techniques.
Skin (Touch up)
Perfect Skin
Flawless Flesh: Skin Repair & Reconstruction
Airbrush
Photo Retouching
Super Fast and Easy Facial Retouching
Retouching
Retouch Yellow Skin
Smooth Skin
Beauty Retouching
Romantic Glow
Portrait Retouching for Beginners
Tone Down Highlights
Beauty Retouching
Make up in Photoshop in 10 min
Quick and Effective Facial Photo Retouching
Face
Apply Eye Make-up
Removing Wrinkles, blemishes, acne or just fix up any skin problems
Adding Beards & Stubble to a Portrait Tutorial
Reducing 5 O'Clock Shadow And Beard Stubble
Apply Makeup Digitally
Removing Freckles
Removing Wrinkles or Bags Under Eyes
Eyes
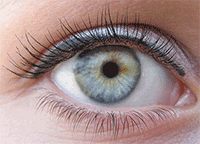
Make eyelashes thicker
Change Eye Color
Shadowy, Sultry Eyes
Nose
Easy Digital Nose Job In Photoshop
Digital Nip Tuck
Smaller Nose
Hair
Changing Hair Color
Change Hair Color
Phoenix Hair Effect
Graying hair
Swapping hair to create a different look
Removing Hair Roots
Teeth
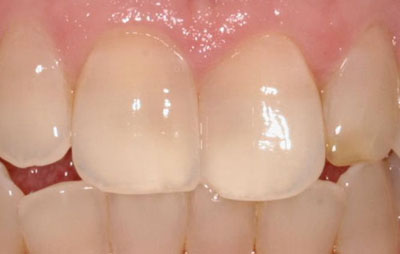
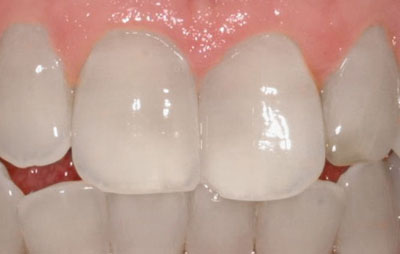
Whitening Teeth & Eyes
Whiten Teeth
Whiten And Brighten Teeth
You are a Good Dentist
Whitening Teeth the Professional Way
Body
Remove a Tan Line
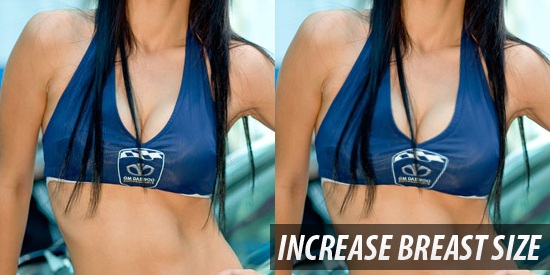
Bigger Bustline
Trimming weight off with the Liquify tool
Removing Love Handles (Spare Tires)
Change a Person’s Body (aka The Virtual Boob Job)
Eliminate Cellulite
Hands
Nail Painting
Longer Nails
Manipulating nails by increasing length & changing shade
Removing Blemishes
Remove Arm Hair
Full Touch Up
Beautify a Face
Beauty Retouching in Photoshop
Basic Model Retouching
Simple photo adjustment manipulation
Comprehensive Skin and Facial Enhancing
FACE MAKEOVER
Age Progression
5 Really Easy, yet Essential Photo Retouch Techniques for Photoshop Beginners
10 different ways to fully utilise the blend tool in Adobe Illustrator
I've talked about how amazing and underused the blend tool in Illustrator is. Here are ten ways to fully utilize the blend tool to create many different kinds of effects in Illustrator.
Blend and mask yourself a great poster
Do you think it's difficult to create a poster with an effect just like the one above? Think again! It's really not. The blend tool was used to create the swirly effects in the background of the poster which would have otherwise been dull and flat.
Illustrator Blend Tool Tips and Tricks
Over at Guru's Unleashed, the tutorial teaches you how to edit the blending spine so you can blend in curves or in any other direction that you would like.
Illustrator's Blend Tool: A Comprehensive Guide
This guide teaches you how to blend with various shapes and gradients, applying blends along a path, replacing spine option, replacing a spine or creating highlights like the picture above. Very useful and reccomended for beginners who did not know the full potential of the tool.
Creating a Stylish Vector Flower
The blend tool technique makes creating vector images like the flower above VERY simple to do- not to mention that it looks great. NDesign studio teaches you how.
Creating Vector Gradient Patterns
Creating vector gradients like the ones above is easy! All it takes are four steps and there you have it. The vector lab shows you how.
Once the blend tool has been sufficiently mastered, it can be incorporated with other tools to create other images such as the ones below.
Swirl mania in Illustrator
The swirls and spirals in the picture can be created using the blend tool along with the pattern details on them.
Che Mondo Bello: Tutorial in Illustrator Blends
Again, this image shows a perfect example of how an image is livened up with the details in the background created with the blend tool.
Amazing Illustrator 3D Effects
Starting with a relatively flat image of a text, by using the blend tool, a 3d effect can be obtained. With a little help from Photoshop, the result is the image such as above.
Creating an abstract flower using Blend Tool
This tutorial is a step-by-step article on how to create an abstract flower such as the one above using the blend tool. I particularly liked this one the best. A great example of a simple and yet so beautiful image that is easy to do.
Creating gradients with the blend tool
The jellybeans above all look relatively 3d with the help of the blend tool which would have otherwise been a very flat image.
WordPress Plugin: Hungred Post Thumbnail
Finally, Hungred Post Thumbnail has been completed! This thumbnail is currently LIVE on Hungred.com and 1sitedaily.com. Originally, i wanted to showcase this plugin in a video but I really could not find a free and powerful one so you will have to bear with me until I find a suitable one. But in the meantime the plugin features can be seen below:
About the plugin
This plugin provides you with customization for your own WordPress theme without affecting your overall layout. There are options in the setting section that allows you to fully customize it for your needs. I understand that this plugin is for people who might not have any programming knowledge and would still like to customize thumbnails for their own needs without doing much of the work like resizing, CSS, HTML, WordPress codes, etc. ( i too do not wish to go through these each and every time!) and people who have already established a site with many posts but did not integrate such features in the beginning. Furthermore, the existing post thumbnails does not really suit my needs. Therefore, i created this plugin to help myself and distribute it out to you guys in the hope that it will be of good use.
This plugin is designed for hungred.com and for people who are facing the same problem. Basically it can be broken down into the following points:
- Sites that have many posts but do not have any thumbnail features available
- Sites that have just started and would like to have thumbnail capabilities
- People who are lazy to continously upload thumbnails with each post
- People who do not want to deal with codes and just the interface itself
- A Thumbnail Plugin that can satisfy at least a basic need of resizing the image size to fit their own needs
- Provides uploading capabilities without posting out to the public until the publish or update button is clicked
- A Basic Image Management System that can keep track of the images that have been uploaded
- Provides random thumbnail features to their posts
- Global size for all thumbnails
- Updated and maintained
- Cross browser capability
- Powerful.
This plugin has been tested with the following browsers:
- Mozilla Firefox 3.0.11
- Internet Explorer 7.0.6001.18000
- Opera 9.64
- Chrome 2.0.172.33
- Safari 4
Features of Hungred Post Thumbnail
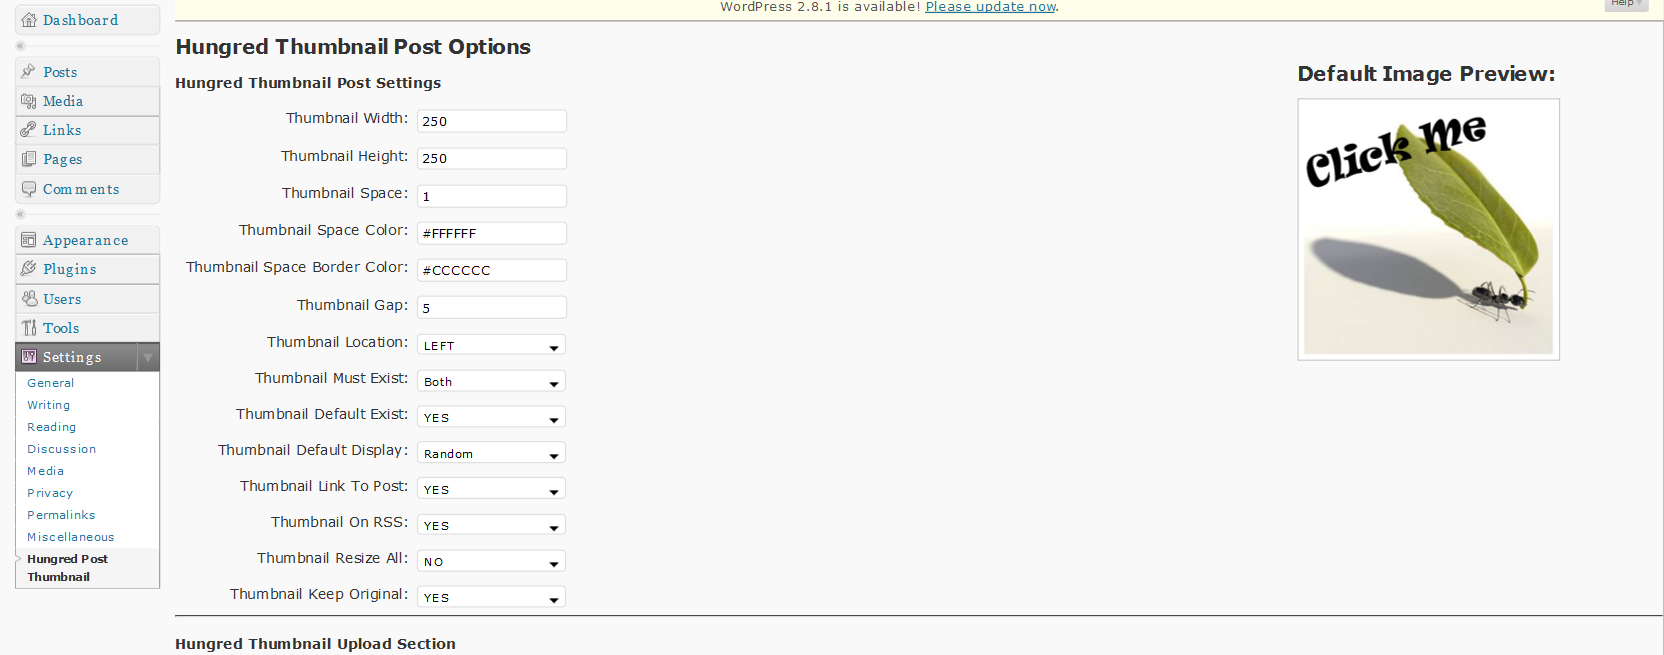
There are quite a number of features available in Hungred Post Thumbnail ever since my tester has been constantly giving me feedback on the plugin on both possible enhancements and bugs. You will see the following page on the setting section in the WordPress Administration panel.
There are three sections altogether in the admin page of Hungred Post Thumbnail; Post Setting, File management and Upload Section as shown below.
In the Post setting the options available are describe below:
- Thumbnail Width: width of the image, changing this will resize your image
- Thumbnail Height: height of the image, changing this will resize your image
- Thumbnail Space: border size of the around image
- Thumbnail Space Color: background color around the space visible to the user
- Thumbnail Space Border Color: border color around the image
- Thumbnail Gap: margin or distance between the image and the border
- Thumbnail Location: location is the position of the thumbnail on the main page of your site. Available position are top,left and right. Now Random added on v1.2.4
- Thumbnail Must Exist: this option specifies when a thumbnail must exist. The available options are excerpt only, more tag only, both and disabled. excerpt and more tag only display the thumbnail only when there is an excerpt and more tag provided respectively. Both will display the thumbnail whenever it sees excerpt or more tag. Lastly, disabled will disable the thumbnail from being displayed on the page.
- Thumbnail Default Exist: this option specifies whether a default image can be used when a thumbnail is not uploaded. Options are YES or NO
- Thumbnail Resize All: this option will resize all your uploaded images via Hungred Post Thumbnail into the newly assigned width and height. Options are YES or NO. If yes is clicked all image will be resized to the newly assigned width and height and resolution may be lost especially when a smaller image is resized to a larger one. (larger to smaller no effect) If a no is clicked, all existing image will remain as it is only the new uploaded images that will be resized to the new width and height. (old image remain the same size)
- Thumbnail Link To Post: this option allows users to choose whether they wish to have an anchor or link to the original post via the image. Options are YES or NO
- Thumbnail Keep Original: this option will help keep your original files so that upon resizing your image, the quality of your picture will remain good. Options are YES or NO
- Thumbnail on RSS: this option allows you to have thumbnails on RSS! The options are YES or NO.
- Thumbnail Default Display: This feature is the most interesting part which makes Hungred Post thumbnail powerful. There are three options altogether, single, random and smart. These are the methods available to display your thumbnail when theree are NO file uploaded. Once a file has uploaded it will use the uploaded images instead of the methods defined here. 'Single' method uses the default image display on the right side of the admin panel. 'Random' method will randomly display image when it doesn't see any upload file for the post uniquely. 'Smart' method will search for keywords in the file seperated by '-' symbol and compare against the category and topic of post to determine whether the image is suitable to display for that post. If nothing can be found it will look for images that has the prefix of 'hpt_' which are usually globally acceptable images. This is also displayed uniquely per post. 'advance' is being added on version 1.4.0 onwards. 'Advance' is an improvement of 'Smart' display type which uses score to try and display the most appropriate thumbnail. The differences between 'Advance' and 'Smart' is that 'Advance' will take up more resources than 'Smart' which simple just take 1 keyword into consideration while 'Advance' takes in all the keywords into consideration. Added first image mode upon 2.0
- Thumbnail Use Inner Style added on version 2.0 which disable the inline style
The above setting will affect your overall image display which you can customize to fulfill your need. The more important one has been placed with JavaScript to double confirm with you. Please take note that if you turn off your backup original setting, the resizing will take the current size image which might affect your overall resolution! But if you would like to save space and keep your hosting plan usage space low, you may turn it off but try not to resize upwards as downwards seems alright. Example, 500x500 when resized to 300x300 is fine but when resizing from 300x300 to 500x500 you will see a drop in quality.
If the resize is set to 'YES', the process may take a 40-50sec to resize 500 images. Depending on how large your image base is in Hungred Thumbnail Post, it may take longer. However, 500 images have been tested with a 512kb connection which only takes around 40-50 sec. Please take note that your original image should, at best, have a smaller size than 1MB or 100kb to optimize the resizing process and prevent out of memory problems in PHP.
In the case when you want to refer back to the original setting,
- Thumbnail Width: 250
- Thumbnail Height: 250
- Thumbnail Space: 1
- Thumbnail Space Color: #FFFFFF
- Thumbnail Space Border Color: #CCCCCC
- Thumbnail Gap: 5
- Thumbnail Default Image: default.png
- Thumbnail Loading Image: loading.png
- Thumbnail Location: LEFT
- Thumbnail Must Exist: BOTH
- Thumbnail Default Exist: YES
- Thumbnail Default Display: Random
- Thumbnail on RSS: YES
- Thumbnail Link To Post: YES
- Thumbnail Resize All: YES
- Thumbnail Keep Original: YES
The upload section will look like this and contains 4 upload bars.
- Thumbnail Default Image: upload function to change the default image if no image is attached. png, gif, jpg, jpeg are allowed only.preview is shown on the right hand side
- Thumbnail Loading Image: loading image is the image shown when the user upload an image on the post page. preview is shown beside the upload box. only gif is allowed.
- Thumbnail Random Image: this is the upload bar for random images when you select the random method as default image. Please name your files with keywords seperated with - symbols to use the smart method in the future.
- Thumbnail Norma Random Image: this upload bar is also for random images but it will append 'hpt_' on your upload image to define it as a normal image if smart algorithm cannot find unique good match for your post.
Finally, the file management system was created to help manage your random image files which can be seen below,
It will provide you with the capability to rename and delete your random image files in order to fit your WordPress theme and category. For example, jQuery and JavaScript is not within your blog scope and you might wish to delete it. Images that are named default (with the 'hpt_' prefix) might be change to non default. You can view the name of each file by placing your mouse on top of the image and a small box will pop out with the name of the image. Below shows the simple image management in Hungred Post Thumbnail,
After an image was clicked,
v1.3.0 multiple upload bar added into file management system!
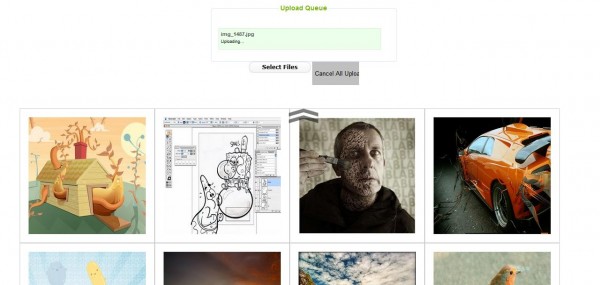
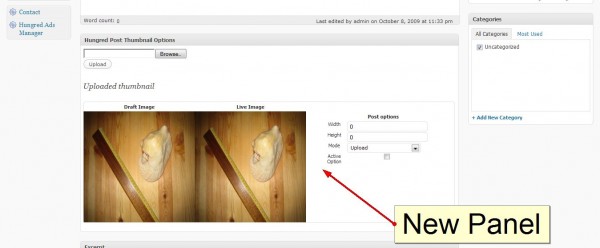
The other new thing you should have see if you installed Hungred Post Thumbnail is the new upload section in the post page.
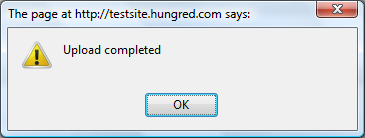
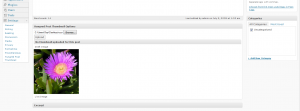
This is fairly simple to use, if you have uploaded an image, it will show below the draft word and an alert box will appear before to indicate it has been completed (the button will be disable when an upload is occurring and enable when it is ready).
And you will see something like this when it is done.
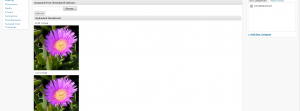
Please take note that unless you have published your post, the thumbnail will not be shown to the public. If a thumbnail has been published to the public, a new picture will be shown below the 'Live image' word as shown below. But if the post does not contains a more tag or there are no excerpt, you won't see any thumbnail but the whole article instead (default by WordPress)
Once the post has been published or updated, the image will be shown!
Notice that this is a test site for my plugin. So the words are a bit random. Nonetheless, you can visit the main page of hungred.com to see the result of this plugin! The above image are the default one for more tag. If neither more tag nor excerpt exist in your theme, no thumbnail will be shown.
Additional Information
Here are additional information you might like to know about the plugin.
- Only Administrator are allowed to enter Hungred Post Thumbnail settings and file management.
- Uploaded images from post page will be removed when new image is uploaded
- Only post with thumbnail that are published will be seen by visitors
- published thumbnail cannot be deleted but can be replace by uploading a new image ( will update this upon enhancement)
- Image will only resize all when width or height changes in the admin panel
- upon delete of a post, every image and data related to that post will be deleted
- default image will not be resized when a group of image is resized since we don't keep backup for it
- loading image will never be resized
- if original image was not found/saved, the current image will be used for resizing
- In order to use smart method, images must have '-' symbols with every keywords. This is also to promote your site for SEO purposes in order for search engine to understand your image
- This plugin has been tuned for SEO purposes on version 1.31 onwards
- Multiple Upload has been added to file management system
- Please update to version 1.5.0 and above if you are using WordPress 2.8. Please refer to Prevent WordPress Plugin Update From Deleting Important Folder In Your Plugin on the changes of WordPress 2.8
How to Install Hungred Post Thumbnail
All WordPress Plugins install the same way.
- Download the latest version of the Hungred Post Thumbnail WordPress Plugin to your computer.
- With an FTP program, access your site’s server.
- Upload (copy) the Plugin file(s) or folder to the
/wp-content/pluginsfolder. - In your WordPress Administration Panels, click on Plugins from the menu.
- You should see your Hungred Post Thumbnal Plugin listed. If not, with your FTP program, check the folder to see if it is installed. If it isn’t, upload the file(s) again. If it is, delete the files and upload them again.
- To turn the WordPress Plugin on, click Activate which is located around the Hungred Post Thumbnail Plugin.
- Check your Administration Panels or WordPress blog to see if the Plugin is working.
The other way is to search for Hungred Post Thumbnail on WordPress Administration Panel
- Go to Plugin on the menu
- Click on 'Add New' (for WordPress v2.8) or look for something similar that allow you to search for Plugin using WordPress Administration Panel (its a link for older version). You should see something like this,

- on the search bar type hungred post thumbnail and you should find it
- Click on install on the far right and a pop out box will appear.
- Click on install now with the red bar and go to your WordPress Plugin section and click activate
- Check your Administration Panels or WordPress blog to see if the Plugin is working.
How to use Hungred Post Thumbnail
1. Activate the plugin
![]()
2. Go to the File Management on Hungred Post Thumbnail Administration section
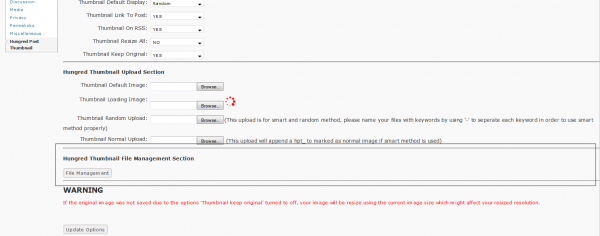
3. Remove the default image files that you do not need
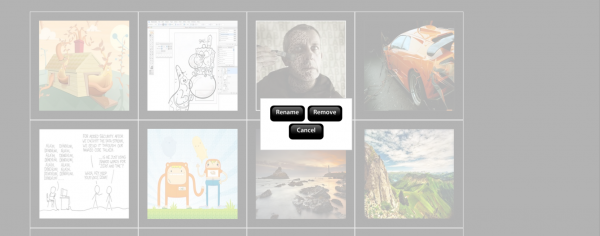
4. Upload any images with keywords on via the upload panel
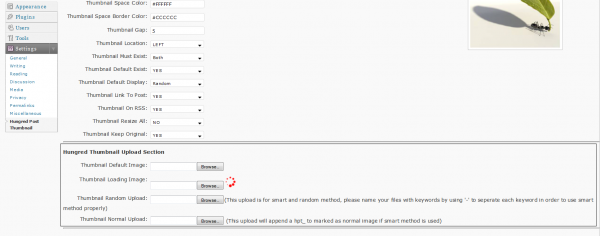
5. Change the setting according to your need
6. Done.
Demo
Look at Hungred.com (this site), go to the home page you will notice that each post image will change upon refreshing. Currently, only this post's thumbnail will not refresh because i have uploaded a specific image for this post only (currently). Other post do not have their own thumbnails and will generate according to the keywords that i provided in each image (i am using the smart method in the plugin). You can use the random method when you have a set of theme images. For example, a set of tables, chairs,glasses, etc. Or you can just use single image if you want.
Known Issues
Here are the known issues on the plugin,
- NONE
Support and Bug Report
- Any bug report or enhancement please go to hungred.com contact me section for better responsiveness. You may also comment below and hopefully it won't be covered away
- Please refer to the forum for question and answer section.
- new enhancements will be coming along
- maintenance will definitely be provided
- any question feel free to ask i will try my best to respond asap
- any other instruction you would like to know regarding the use of the plugin, please let me know.
- Please read the FAQ section of the readme.txt file in the plugin for any doubts. ( a lot of Q n A )
- The changelog can be viewed on the readme.txt file too.
- Stable version is v2.0.0
Version 2.0.0
This document is a mess right now but still provides you with certain information. However, upon version 2.0 there are quite a number of changes in this plugin and i will advice you to upgrade. Hence, you might want to visit the readme.txt for all your question before moving towards the forum. In this section i will just paste in some screen shot for you to view the changes that has been made for this plugin. Definitely, it will be much better than the previous version as there are a lot of changes in it that i won't mention it here. And some images might be outdated and it should appear better than the one shown on the screenshot. Thanks tosoccermylife.com for sponsoring this plugin development!
There should be another look than the one shown below
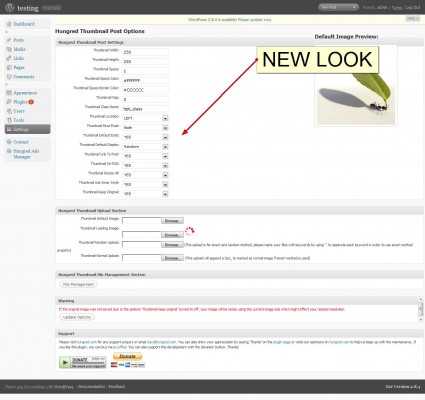
You can now customize each post thumbnail capability
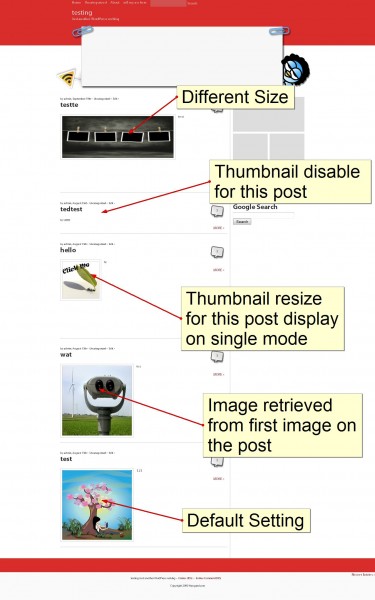
Demo of each post customization
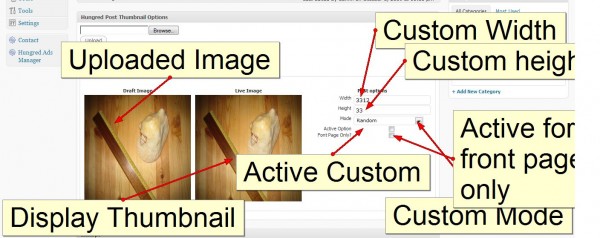
Explanation of what each button does
Demo of what plugin can do.

Please try to backup all your images before updating to this version since WordPress 2.8.0 onwards there is a slight changes on how WordPress update their plugin (delete folder and reinstall). If you face any problem updating to this version, you may want to reinstall this plugin by deleting the whole plugin and reinstall again as there is a major change on the structure of this plugin to cater the new features. Nonetheless, the update should work for everyone.
Files and Last Note
You can download the file at
- please proceed to WordPress to download the latest version
- Current version v2.0.0
- Article Last update: 15 October 2009. Please refer to the change log on readme.txt (in the plugin) for more information
if my countless days and nights working on this plugin helps you, you can buy me a coffee! You can also support this plugin development by using the donate button below. Lastly, please share it with all the WordPress users if you find this useful to them. You can also show us your appreciation by linking us back or just say a thank you if you can 🙂


