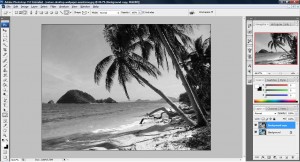
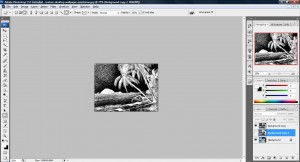
1. Fire up your photoshop and open up an image that you would like to edit.

2. duplicate a layer from the Layer Palette and press (Ctrl+Shift+U) to turn the layer into black and white.
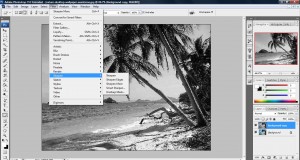
3. Select Filter > Sharpen->Sharpen More or any option you deem fit your liking.
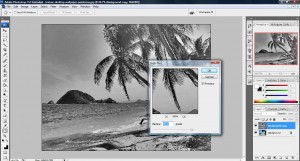
4. Click Filter > Other > High Pass and adjust the radius to your liking. Please take note that there should be a balance between white and gray in the radius you choose and it will affect the end result.
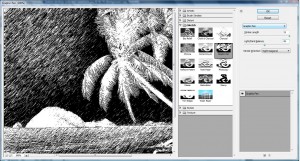
5. Click Filter > Sketch > Graphic Pen and adjust the stroke length and Light/Dark Balance. You can also select the stroke direction of the sketch.
6. This is what you will get.


