Well, if you are looking for a step by step guide but just found the older one, you might be lucky because i have just setup mine with Vagrant Homestead which is most likely what you are looking for as well. In short, the one explain on their official website isn't very clear that i have to get out and read other article just to set this up. So for anyone convenient and for mine as well, i'll just quickly write down what i did and what makes it magically work in this step by step guide.
Install required scripts
Before you even decide to setup anything you will need to do install a number of scripts to help in setting up Homestead Vagrant.
Install Vagrant
First, go ahead and visit Vagrant official website and download the mac version of Vagrant and get it install on your machine
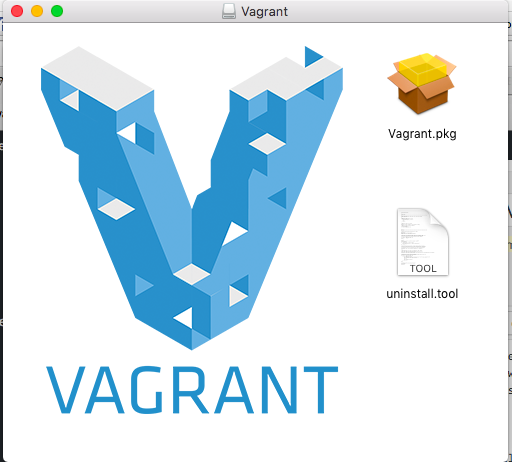
Just click on the pkg and continue till the end and we are all good with Vagrant.
Install VirtualBox
Without VirtualBox don't think about getting Vagrant to work. Therefore, head over to VirtualBox official website.
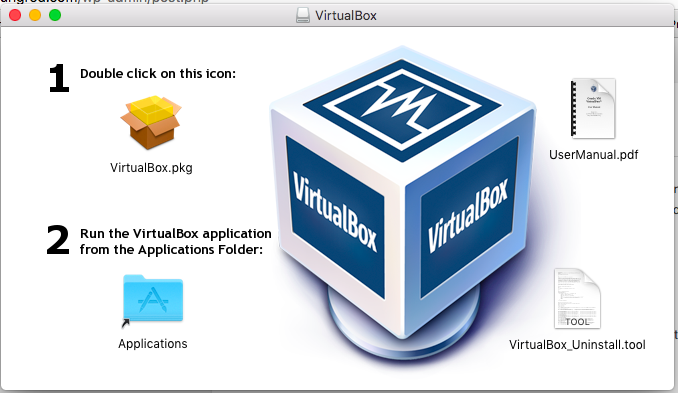
Similarly, open up the .dmg file of virtualbox and install it via .pkg file and continue till the end and we are all good with VirtualBox.
Install Composer
Now to install Composer we will need to do this. to get composer available globally.
curl -sS https://getcomposer.org/installer | php
mv composer.phar /usr/local/bin/composer
However, make sure your 'php' is available as shown here,
Clays-MacBook-Air:public clay$ whereis php
/usr/bin/php
If not, please try to install php first before doing this.
Install Laravel
Now i wanted to use the script 'laravel new xxx' so i have to install Laravel as well by firing the following composer script.
composer global require "laravel/installer=~1.1"
Once this is done you should be able to create a new laravel website by generating the base files of laravel
laravel new blog
but be patient, don't do this first since we really want to set this up with Vagrant and Homestead.
Install Vagrant Homestead Box
Now we need to install Homestead Vagrant box. We can first download this upfront so we could use it later.
vagrant box add laravel/homestead
Once you've done that you can see it via
Clays-MacBook-Air:public clay$ vagrant box list
laravel/homestead (virtualbox, 0.3.0)
which should list out what vagrant boxes you have.
Install Homestead CLI
Now before anything else, we will need to install Homestead CLI tool.
composer global require "laravel/homestead=~2.0"
and make sure the path ~/.composer/vendor/bin is available after installation. And also add them into $PATH via .bashrc or .profile whichever you but might is located at ~/.profile
export PATH=~/.composer/vendor/bin:$PATH
and add this line so that we can use whatever is in the vendor bin folder.
Setup Homestead YAML file
Now we have finish installed all required script for Laravel and Vagrant. We need to setup Homestead YAML file but first, we will need to create the configure file via
homestead init
Creating Homestead.yaml file... ok
Homestead.yaml file created at: /Users/claylua/.homestead/Homestead.yaml
Now we know where this file is located, we just need to open up and starts configuring some important parts.
vi ~/.homestead/Homestead.yaml
i use vim, you can use nano and etc or whatever you like. And the most important parts are shown below,
// this is the public key
authorize: ~/.ssh/id_rsa.pub

// this is my private key that i normally use
keys:
- ~/.ssh/id_rsa

// in my macbook, i am playing all laravel files on ~/Vagrant/Code (i created it myself)
// and on Vagrant VM iw ill place it on  /Users/claylua/Vagrant/Code
folders:
- map: ~/Vagrant/Code
  to: /Users/claylua/Vagrant/Code

// i am mapping the Laravel files to claylua.com and on vagrant of vm, it will look for the
// directory located at /Users/claylua/Vagrant/Code/blog/public
sites:
- map: claylua.com
  to: /Users/claylua/Vagrant/Code/blog/public

// i change the name of the database
databases:
- claylua
so edit your configuration file accordingly and to your liking and we can start creating Laravel base files.
Setup Laravel Base Files
As you can see on my Homestead.yaml file, i have tell the configuration to go to the directory ~/Vagrant/Code where i will setup Laravel there.
mkdir -p ~/Vagrant/Code
the above will create the folder needed.
cd ~/Vagrant/Code
laravel new blog
The above will create a new laravel blog folder.
Setup Vagrant
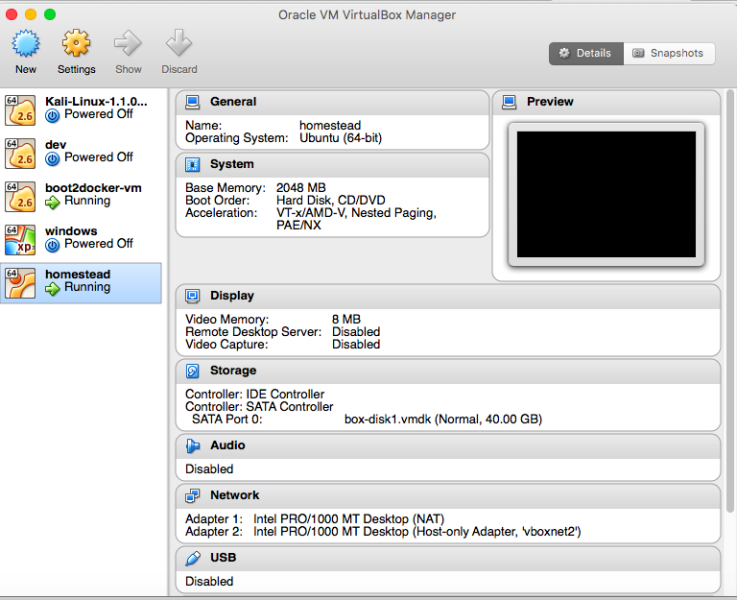
Now we have finish setup both laravel files and homestead configuration. It's time to start Vagrant and access our website via
homestead up
Bringing machine 'default' up with 'virtualbox' provider...
==> default: Importing base box 'laravel/homestead'...
==> default: Matching MAC address for NAT networking...
==> default: Checking if box 'laravel/homestead' is up to date...
...
==> default: Forwarding ports...
default: 80 => 8000 (adapter 1)
default: 443 => 44300 (adapter 1)
default: 3306 => 33060 (adapter 1)
default: 5432 => 54320 (adapter 1)
default: 22 => 2222 (adapter 1)
Once this is done, do remember that i have setup 'claylua.com' to point to my laravel installation folder. Hence, i will need to setup this domain to point it to my local machine by doing this
sudo vi /etc/hosts
and add this line at the end
192.168.10.10 claylua.com
If you are wondering why its 192.168.10.10 its because on my homestead.yaml i have place it as this ip address. Once you've done that, all you need to do is to open up the url 'claylua.com' and you'll see the following display

and if you don't like what you see. Just destory it via command line
homestead destroy
and if you find it too troublesome to hit one line then open up VirtualBox and 'stop and remove' it.
And you can redo the `homestead up` again.
SSH into Vagrant VM
Since this is all VM, which is really another small machine on your physical machine, you can actually ssh into it and install any thing you want. By default you can ssh via
ssh [email protected] -p 2222
Welcome to Ubuntu 14.04.3 LTS (GNU/Linux 3.19.0-25-generic x86_64)

 * Documentation:  https://help.ubuntu.com/
Last login: Sun Oct 18 20:14:08 2015 from 10.0.2.2
and you should be in as shown above.
Connect to Vagrant Database
Now we need to see whether we can login to our mysql on Vagrant homestead machine. I'm using Sequel Pro and the default value are
Host: 127.0.0.1
User: homestead
Password: secret
Port: 33060
And if you click on 'test connection' you should see this,
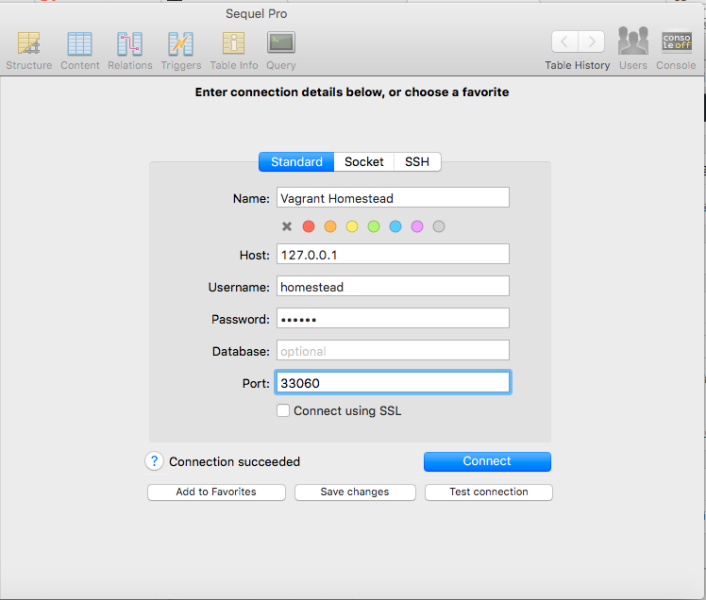
Pretty neat ya.
Environment Variable
In the case you want to send environment variable to your vagrant homestead setup, all you need to do is to open up homestead.yaml and place these new variables in
variables:
- key: APP_ENV
value: dev
- key: API_KEY
value: nudeinbath
- key: API_SECRET
value: dontlookatmelikethatyouasshole
And in your Laravel application you can use this variable like this
$app_env = getenv('APP_ENV'); // returns "dev"
$api_key = getenv('API_KEY'); // returns "nudeinbath"
$api_secret = getenv('API_SECRET'); // returns "dontlookatmelikethatyouasshole"
Adding New Sites
So you have nothing to do and wanted to add a new website to create new laravel project. Simply head over to the Homestead.yaml file and add it below,
// i am mapping the Laravel files to claylua.com and on vagrant of vm, it will look for the
// directory located at /Users/claylua/Vagrant/Code/blog/public
sites:
- map: claylua.com
  to: /Users/claylua/Vagrant/Code/blog/public
// now i am adding a new website call shit
- map: shit.com
  to: /Users/claylua/Vagrant/Code/shit/public
Similarly, i will need to add a new laravel folder into it
cd ~/Vagrant/Code
laravel new shit
Now i have to provision my server again and map the new locations from your Homestead directory.
vagrant provision
and this doesn't work you'll do this
vagrant reload --provision
And you will see something like this
Clays-MacBook-Air:.homestead clay$ vagrant reload --provision
==> default: Attempting graceful shutdown of VM...
==> default: Clearing any previously set forwarded ports...
==> default: Clearing any previously set network interfaces...
==> default: Preparing network interfaces based on configuration...
    default: Adapter 1: nat
==> default: Forwarding ports...
    default: 22 => 2222 (adapter 1)
==> default: Booting VM...
==> default: Waiting for machine to boot. This may take a few minutes...
    default: SSH address: 127.0.0.1:2222
    default: SSH username: vagrant
    default: SSH auth method: private key
    default: Warning: Connection timeout. Retrying...
    default: Warning: Remote connection disconnect. Retrying...
    default: Warning: Remote connection disconnect. Retrying...
    default: Warning: Remote connection disconnect. Retrying...
    default: Warning: Remote connection disconnect. Retrying...
    default: Warning: Remote connection disconnect. Retrying...
    default: Warning: Remote connection disconnect. Retrying...
    default: Warning: Remote connection disconnect. Retrying...
    default: Warning: Remote connection disconnect. Retrying...
    default: Warning: Remote connection disconnect. Retrying...
    default: Warning: Remote connection disconnect. Retrying...
    default: Warning: Remote connection disconnect. Retrying...
    default: Warning: Remote connection disconnect. Retrying...
==> default: Machine booted and ready!
==> default: Checking for guest additions in VM...
    default: The guest additions on this VM do not match the installed version of
    default: VirtualBox! In most cases this is fine, but in rare cases it can
    default: prevent things such as shared folders from working properly. If you see
    default: shared folder errors, please make sure the guest additions within the
    default: virtual machine match the version of VirtualBox you have installed on
    default: your host and reload your VM.
    default:
    default: Guest Additions Version: 5.0.4
    default: VirtualBox Version: 4.3
==> default: Mounting shared folders...
    default: /vagrant => /Users/clay/.homestead
And if the provision still doesn't work, do this
Clays-MacBook-Air:.homestead clay$ homestead halt
==> default: Attempting graceful shutdown of VM...
Clays-MacBook-Air:.homestead clay$ homestead up --provision
Bringing machine 'default' up with 'virtualbox' provider...
==> default: Checking if box 'laravel/homestead' is up to date...
==> default: Clearing any previously set forwarded ports...
==> default: Clearing any previously set network interfaces...
==> default: Preparing network interfaces based on configuration...
    default: Adapter 1: nat
    default: Adapter 2: hostonly
==> default: Forwarding ports...
    default: 80 => 8000 (adapter 1)
    default: 443 => 44300 (adapter 1)
    default: 3306 => 33060 (adapter 1)
    default: 5432 => 54320 (adapter 1)
    default: 22 => 2222 (adapter 1)
==> default: Running 'pre-boot' VM customizations...
==> default: Booting VM...
==> default: Waiting for machine to boot. This may take a few minutes...
    default: SSH address: 127.0.0.1:2222
    default: SSH username: vagrant
    default: SSH auth method: private key
    default: Warning: Connection timeout. Retrying...
==> default: Machine booted and ready!
==> default: Checking for guest additions in VM...
    default: The guest additions on this VM do not match the installed version of
    default: VirtualBox! In most cases this is fine, but in rare cases it can
    default: prevent things such as shared folders from working properly. If you see
    default: shared folder errors, please make sure the guest additions within the
    default: virtual machine match the version of VirtualBox you have installed on
    default: your host and reload your VM.
    default:
    default: Guest Additions Version: 5.0.4
    default: VirtualBox Version: 4.3
==> default: Setting hostname...
==> default: Configuring and enabling network interfaces...
==> default: Mounting shared folders...
    default: /vagrant => /Users/clay/.composer/vendor/laravel/homestead
    default: /Users/clay/Vagrant/Code => /Users/clay/Vagrant/Code
==> default: Running provisioner: file...
==> default: Running provisioner: shell...
    default: Running: inline script
==> default: Running provisioner: shell...
    default: Running: inline script
==> default: Running provisioner: shell...
    default: Running: /var/folders/7h/k2cjyqms7rxfnv3mvl_b0pq00000gn/T/vagrant-shell20151102-10803-lxzddo.sh
==> default: Running provisioner: shell...
    default: Running: /var/folders/7h/k2cjyqms7rxfnv3mvl_b0pq00000gn/T/vagrant-shell20151102-10803-1xy8ywc.sh
==> default: nginx stop/waiting
==> default: nginx start/running, process 1659
==> default: php5-fpm stop/waiting
==> default: php5-fpm start/running, process 1674
==> default: Running provisioner: shell...
    default: Running: /var/folders/7h/k2cjyqms7rxfnv3mvl_b0pq00000gn/T/vagrant-shell20151102-10803-12bufkv.sh
==> default: nginx stop/waiting
==> default: nginx start/running, process 1712
==> default: php5-fpm stop/waiting
==> default: php5-fpm start/running, process 1727
==> default: Running provisioner: shell...
    default: Running: /var/folders/7h/k2cjyqms7rxfnv3mvl_b0pq00000gn/T/vagrant-shell20151102-10803-qs9lku.sh
==> default: Warning: Using a password on the command line interface can be insecure.
==> default: Running provisioner: shell...
    default: Running: /var/folders/7h/k2cjyqms7rxfnv3mvl_b0pq00000gn/T/vagrant-shell20151102-10803-13bnnt7.sh
==> default: createdb: database creation failed: ERROR:  database "temprole" already exists
==> default: Running provisioner: shell...
    default: Running: /var/folders/7h/k2cjyqms7rxfnv3mvl_b0pq00000gn/T/vagrant-shell20151102-10803-xzs2bs.sh
==> default: Running provisioner: shell...
    default: Running: inline script
==> default: Running provisioner: shell...
    default: Running: inline script
==> default: Running provisioner: shell...
    default: Running: inline script
==> default: php5-fpm stop/waiting
==> default: php5-fpm start/running, process 1816
==> default: Running provisioner: shell...
    default: Running: inline script
==> default: Updating to version 5a5088eb342e4876cb28472ba1fc3f1da7a14852.
==> default:     Downloading: Connecting...
==> default:
==> default:     Downloading: 100%
==> default:
==> default:
==> default: Use composer self-update --rollback to return to version a54f84f05f915c6d42bed94de0cdcb4406a4707b
==> default: Running provisioner: shell...
    default: Running: /var/folders/7h/k2cjyqms7rxfnv3mvl_b0pq00000gn/T/vagrant-shell20151102-10803-88fx5m.sh
but remember to save the new shit.com to your hosts file
sudo vi /etc/hosts
now let's add this shit
192.168.10.10 shit.com
And we are done!
Conclusion on Laravel 5
Pretty much sweet and easy installation with a large community backed up with it. I'm sure there will be more fun ahead! Enjoy your Laravel 5!


