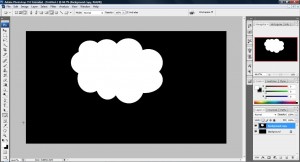
This tutorial will demonstrate how to draw a mac button
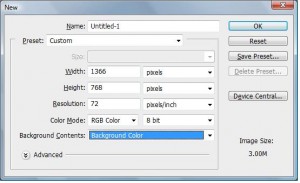
1. Fire up your photoshop and create a new board with the size 250x100 with transparent background.
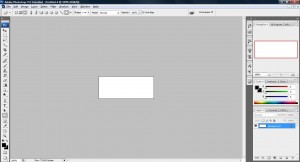
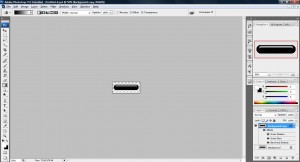
2. Select the Rounded Rectangle Tool, change the Radius to 30px and draw a pill on the board.
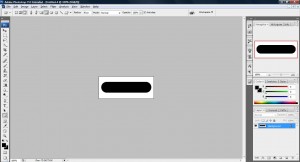
3. Go to the Layer Palette, right click on 'background' layer and duplicate a layer.
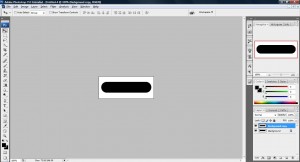
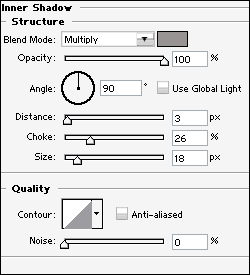
4. At the Layer Palette, look for a font like icon, click it and select Add Inner Shadow and the Layer Style window will open, select the settings that you see on the screenshot.
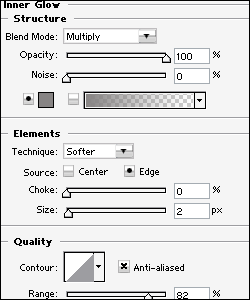
5. Select Inner Glow on the left and use settings that you see on the screenshot in the same window.
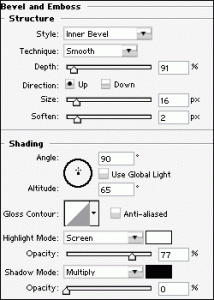
6. Select Bevel and Emboss on the left and use settings that you see on the screenshot in the same window.
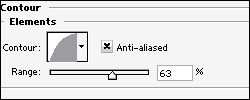
7. select Contour on the left and use settings that you see on the screenshot on the same window and click 'OK'.
8. Now you will see something like this if you did not create your workspace with a transparent background at first.
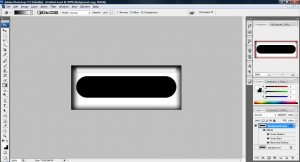
9. And if you work with a transparent background from the start you will get this in the end. P.S: you can remove the background with any removing technique to get this result if you forgot to remove the background initially.
