Tutorial: how to attach an image to a link in css

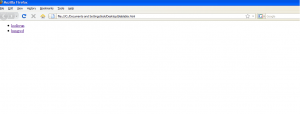
First I made an unordered list in my html body with two links that I wanted. Here's an example below.

<div>
<ul>
	<li id="girl">
		<a href="http://looliwun.com">looliwun</a>
		</li>
	<li id="boy">
		<a href="http://hungred.com">hungred</a>
		</li>
		</ul>
</div>

This would result in a basic unordered list.

link1

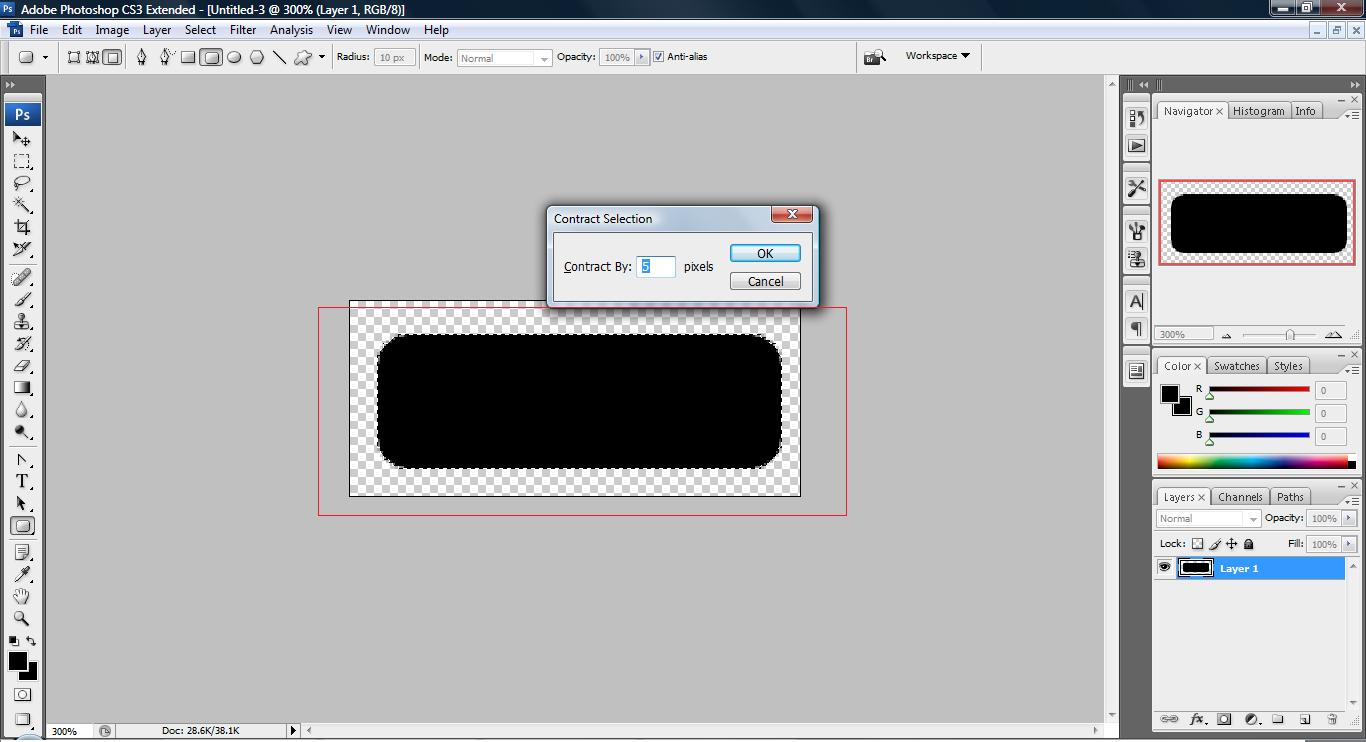
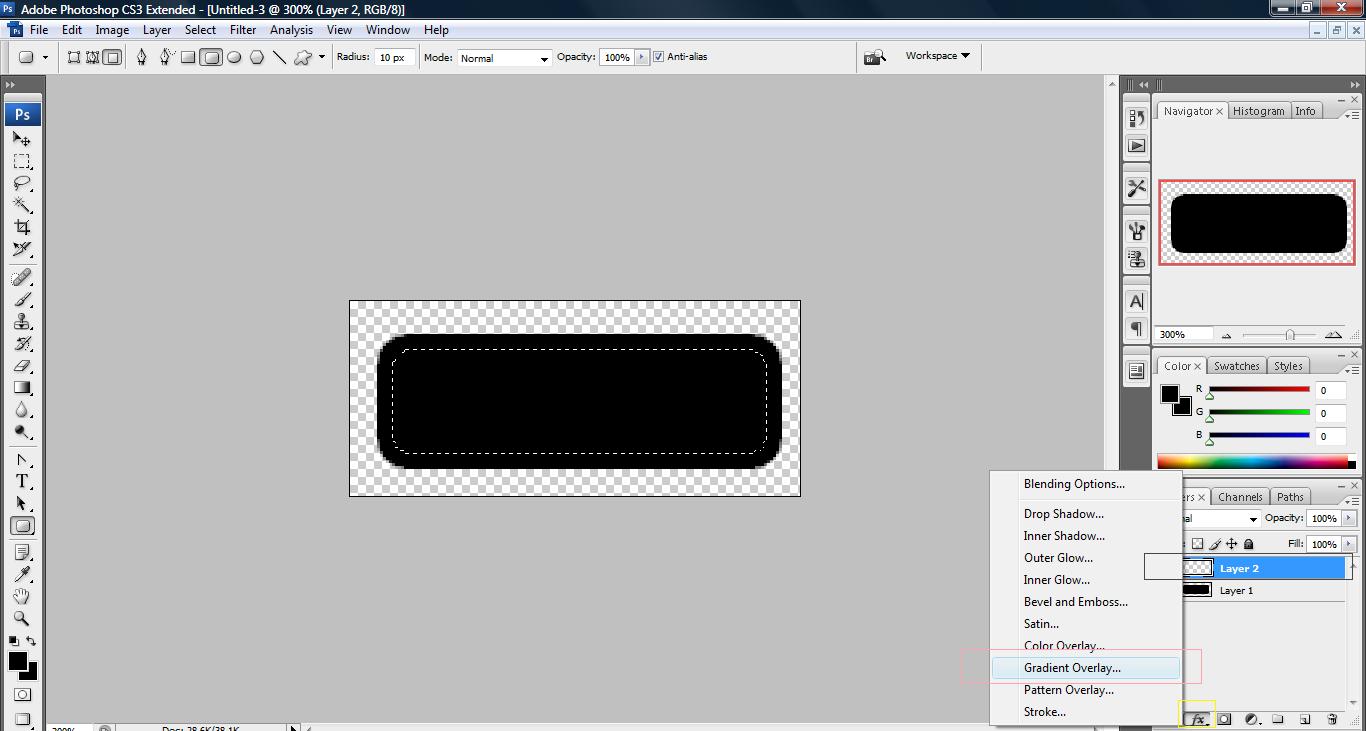
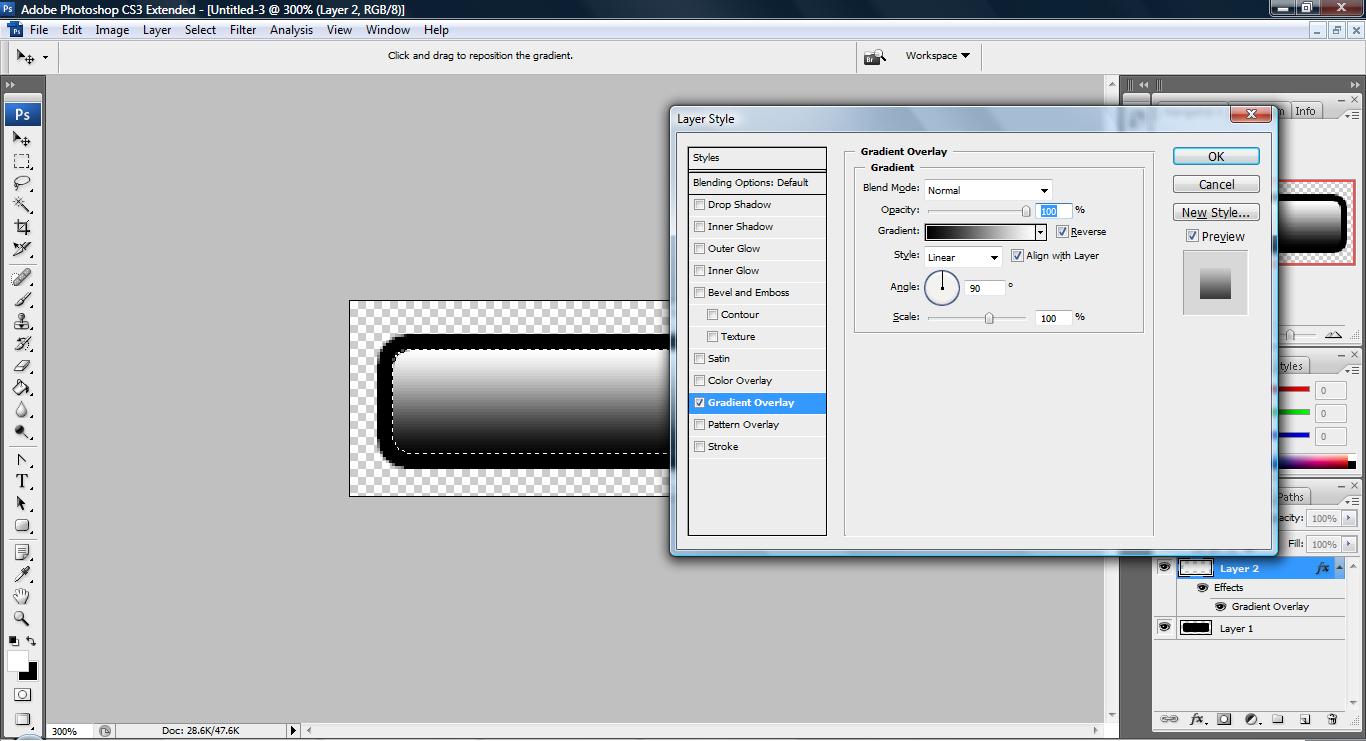
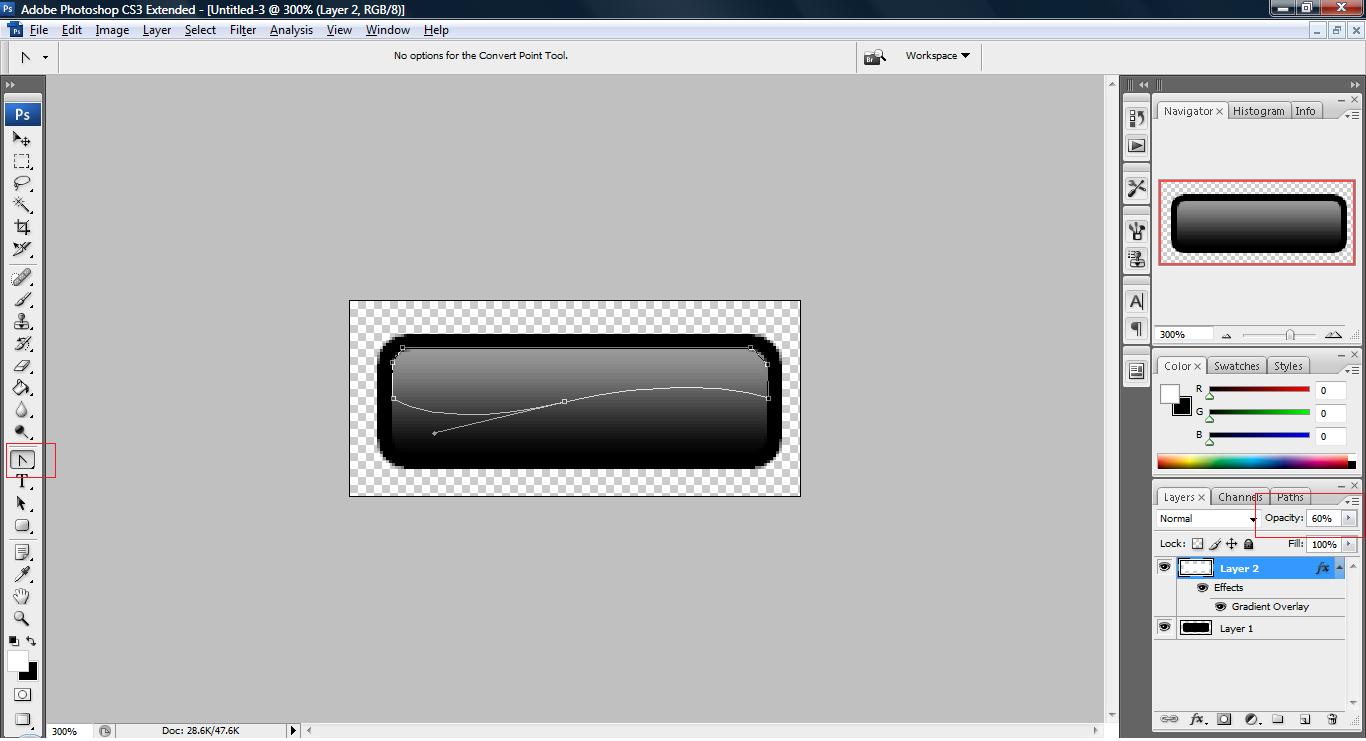
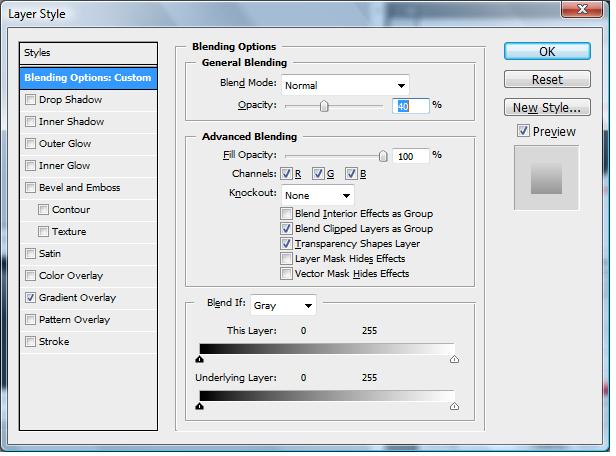
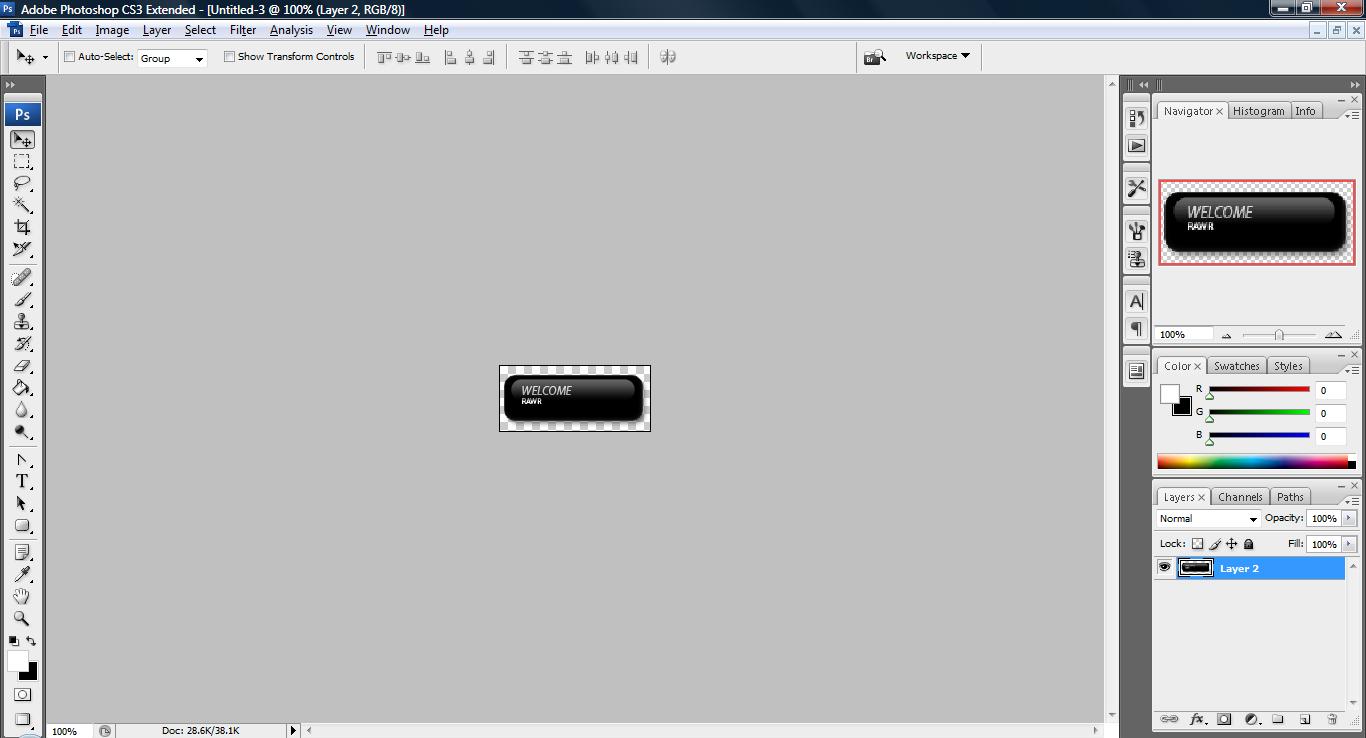
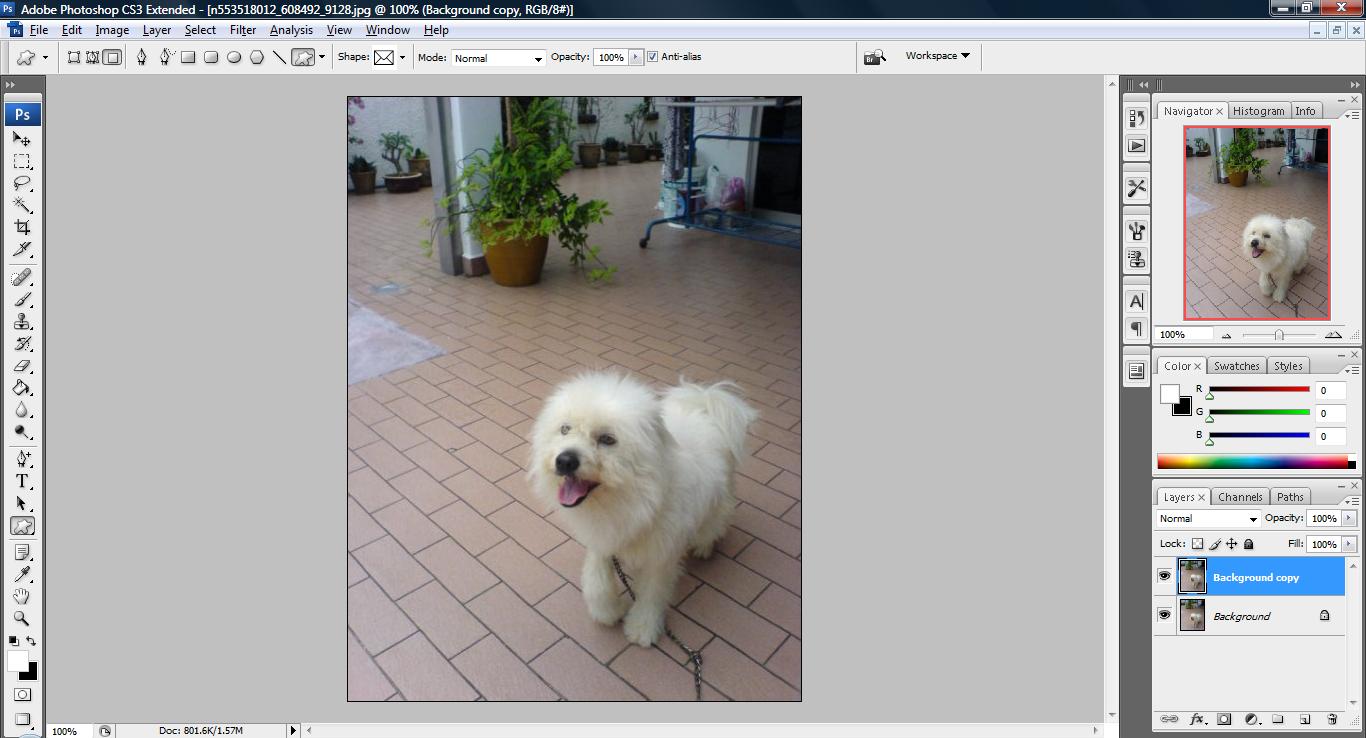
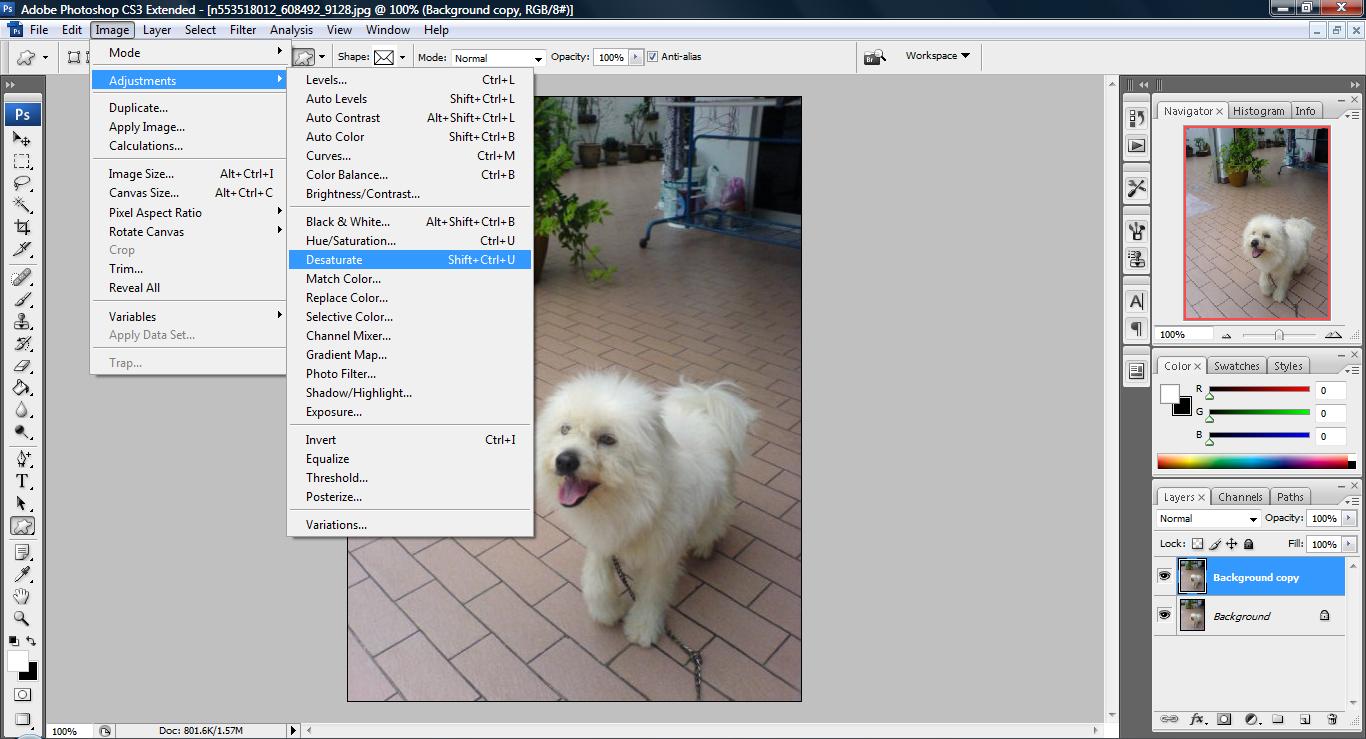
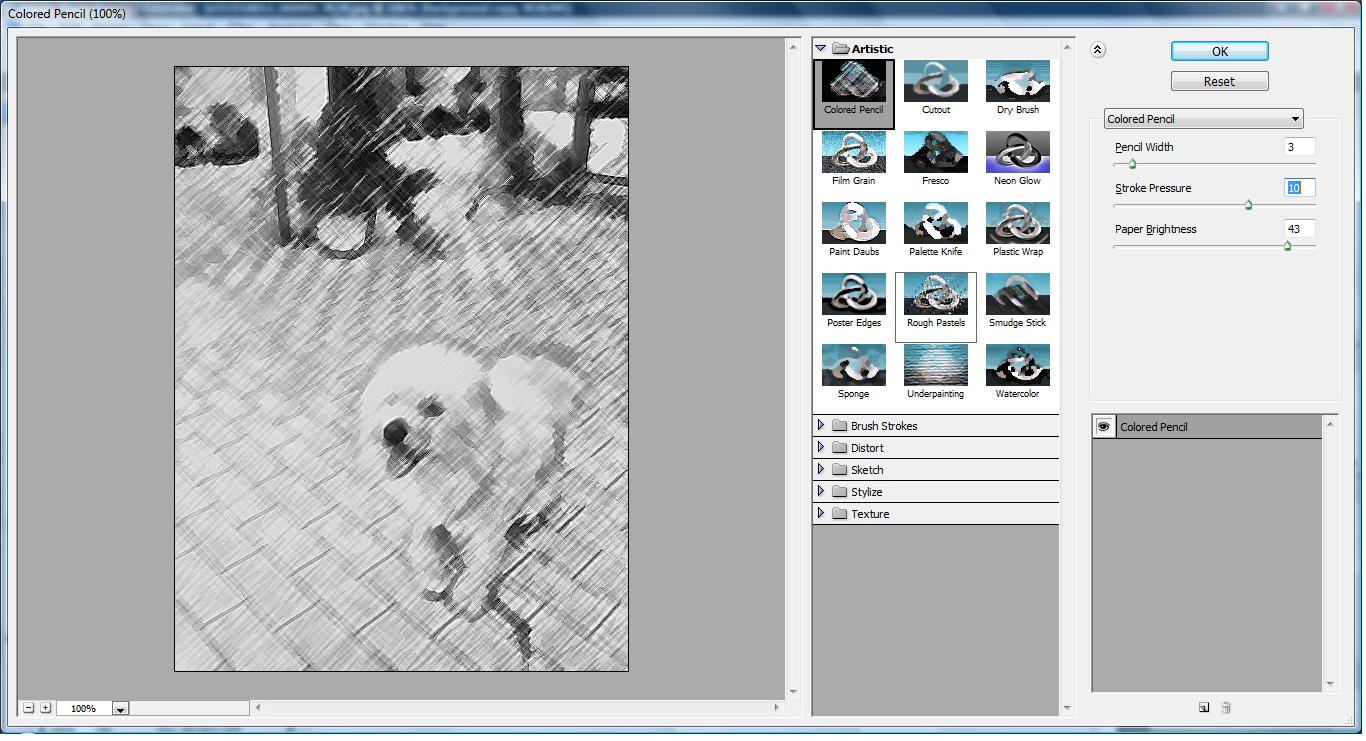
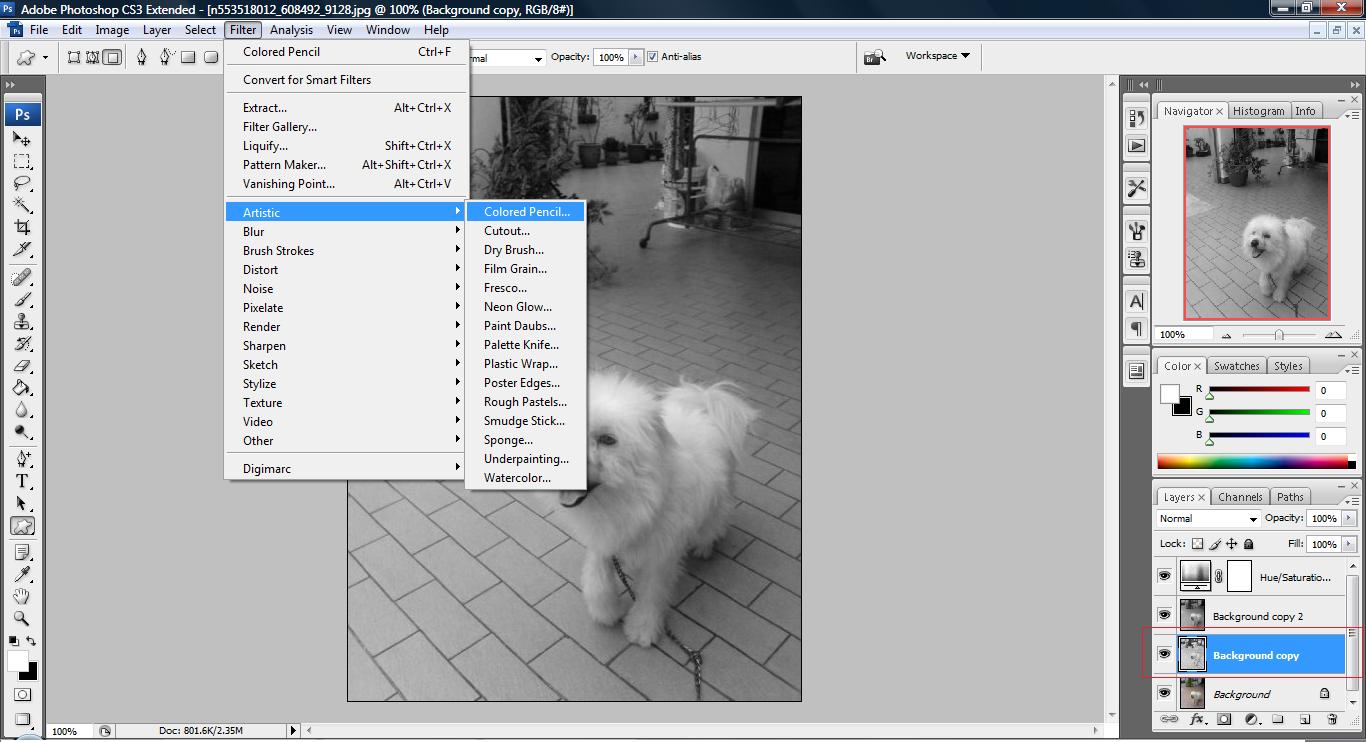
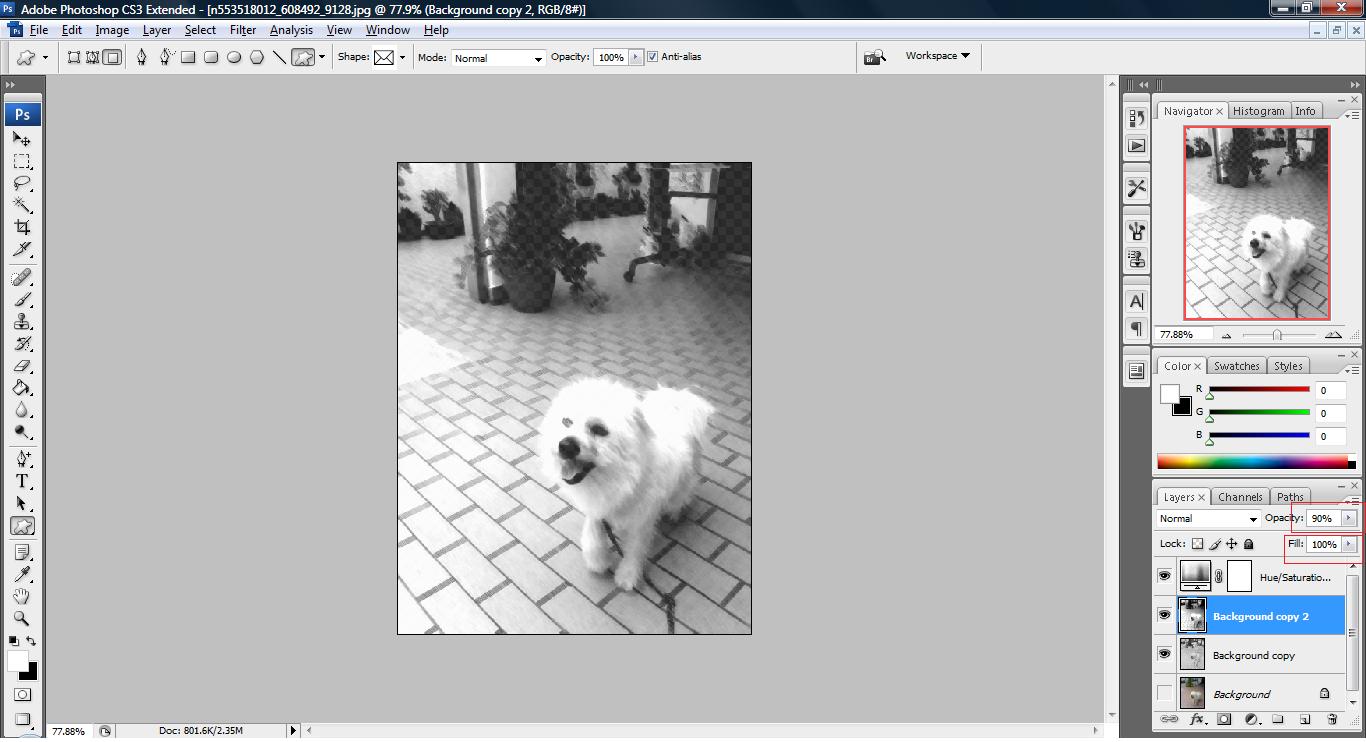
I styled it in css using two pictures I made with Photoshop

ul
{
list-style: none; /*removes the underline below the link*/
margin: 0; /*removes the margin*/
padding: 0; /*removes the padding*/
}

ul li
{
float: left; /*this makes the element displays in a horizontal line*/
margin: 0;
padding: 0;
}

ul li a
{
color: #777;
display: block;  /*The element will be displayed as a block level element */
width: 75px; /*This allows the picture to be fit in the block*/
padding: 60px 10px 5px; /*There is 60px of padding on the top, 10px of padding on the right and left, and 5px of padding on the bottom*/
text-align: center;
text-decoration: none; /*removes all text decoration*/
}

ul li#girl a
{
background: transparent url(blablabla_files/rabbit.png) no-repeat top center; /*this makes the picture appears in the top center without any repeats*/
}

ul li#boy a
{
background: transparent url(blablabla_files/rawr.png) no-repeat top center;
}

ul li#girl a:hover,
ul li#boy a:hover
{
background-color: #FFFBC6;
/*this makes the color of the text change when the mouse hovers over the link*/}

ul li a:hover
{
color: #000 /*this makes the color of the text change when the mouse hovers over the link*/
}

This would make my link look like this
link2

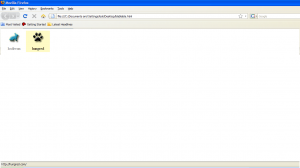
When my mouse hovers over the link, the background colour changes to yellow, and the text of the link changes from gray to black.

Tutorial: How to add button image to a link with css

I got an image from the tutorial i wrote previous and wanted to do some simple stuff like adding it to a link so i did the following css code:

a.button {
display: block; 					/* this make it possible to hook the image to the link */
background-color: transparent;
background-image: url(mybutton.png); /*set the button image */
background-repeat: no-repeat;		/*set it once only */
width: 150px;						/*width of the image*/
height: 65px;						/*height of the image*/
margin: 5px auto;					/*align the text to center with top and bottom 5px margin*/
padding: 15px 0 0 0;				/*add a padding of 15px to the top*/
text-align: center;					/*this is required to make it align to center but we usually place this on the body instead*/
font-family: Myriad Pro, Calibri, Arial, sans-serif;/*font of the image*/
font-size: 100%;									/*font size*/
color: #FFF;										/*font color*/
font-weight: bold;									/*font style*/
text-decoration: none;								/*remove the link decoration*/
}

The code is well commented for understanding and you can find the sample code from here here. You will get something like this in HTML,

untitled107

Tutorial: How to add that glow on your button with various technique

1. Fire up your photoshop and open up a workspace of the size 150, 65 with background transparent and draw a rounded rectangle as shown below.

untitled91

2. Most of the technique to create a glow is to add a layer on top of the picture and gradient it with white and reduce its opacity. i will show two technique to do this. After we created the workspace as shown above, do a selection on the existing layer by clicking 'Ctrl+Click' on the layer. (selection means to select the layer) and click Select->Modify->Contract to reduce the size by 5px as illustrate below,

untitled92

untitled94

The red box indicate selection.

4. Now, create a new layer and paint it white using 'Paint Bucket Tool'.

untitled96

3. Now, on the new layer, look for the 'Add a layer style' icon and click on Gradient overlay and adjust the setting as shown below.

untitled95

untitled97

4. Next, we set the opacity to 60% on the Layer Palette and use our pen tools technique to remove the background on the lower part of the layer.

untitled98

5. This way you get your top glow with some curve style.

untitled99

6. With some style apply on the original layer, you can get a button such as the one shown below,

untitxled101

So this is the first technique use to add glow on your button the next one is shown below,

2. After you have done point 1., create a new layer and draw another white box on top of the rounded triangle. Look for the 'Add a style layer' icon and click on 'Gradient Overlay' and follow the setting below,

untitled102

untitled103

play with the gradient bar if you want to create different effects.

3. In blending option apply the setting as shown below,

untitled104

4. You will have something like this,

untitled105

5. if you style it a bit, it will produce something like this

untitled106

6. And so on~

I'm really only demonstrating the various way of adding glow to your button and if you notice, only the methods used are different but the same thing apply on the image(white opacity object). Once you learn some of these tricks, you can create any kind of button you desire.

Tutorial: How to produce a new effect

1. Fire up your photoshop and open up an image!

untitled79

2. duplicate a layer and go to Image > Adjustment > Desaturate.

untitled80

3. Duplicate another layer on the Saturated image go to Layer > New Adjustment Layer > Hue/Saturation. Set the master saturation to -100.

untitled81

4. Now go to your original background image and go to Filter > Artistic > Colored Pencil. Adjust the setting to your liking.

untitled82

untitled83

5. Next, select 'Background copy 2' in your layer palette. Then, go to Filter > Brush Strokes > Dark Strokes and adjust the setting to your liking.

untitled84

6. We will now adjust the property settings of our layers.

untitled85

7. Notice that in every steps there is always a chance that we can stop as the effect maybe desirable for you. The purpose of showing it all the way till here is to show that the combination of different effects will emerge another greater effect. Good luck!

Tutorial: How to change your scenery image to hand sketch

1. Fire up your photoshop and open up an image that you would like to edit.
untitled72

2. duplicate a layer from the Layer Palette and press (Ctrl+Shift+U) to turn the layer into black and white.

untitled73

3. Select Filter > Sharpen->Sharpen More or any option you deem fit your liking.

untitled74

4. Click Filter > Other > High Pass and adjust the radius to your liking. Please take note that there should be a balance between white and gray in the radius you choose and it will affect the end result.

untitled75

5. Click Filter > Sketch > Graphic Pen and adjust the stroke length and Light/Dark Balance. You can also select the stroke direction of the sketch.

untitled76

6. This is what you will get.

untitled78