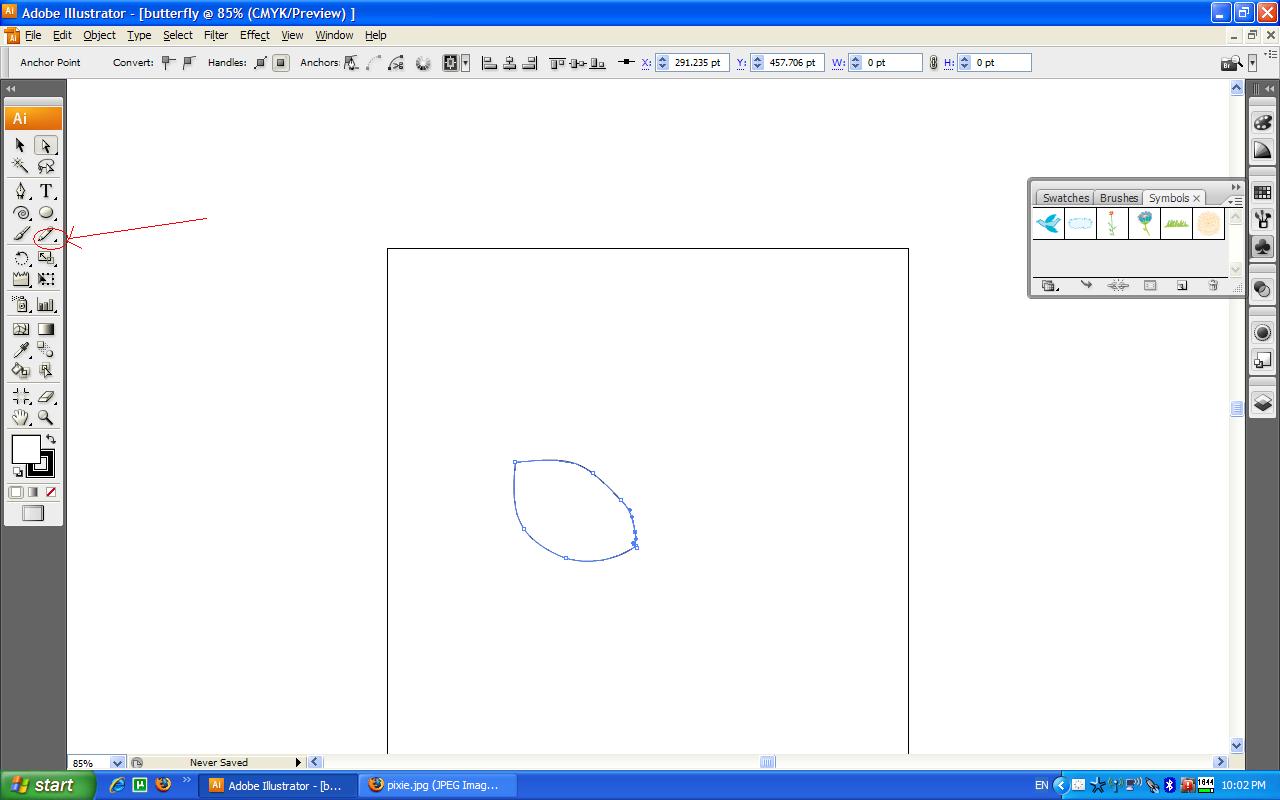
I opened up a new document in Illustrator and drew a basic wing shape using the Pencil tool. I adjust the wing shape by using the Direct Selection tool and double clicking on the path that I drew. I can then drag the lines to perfect my wing shape.
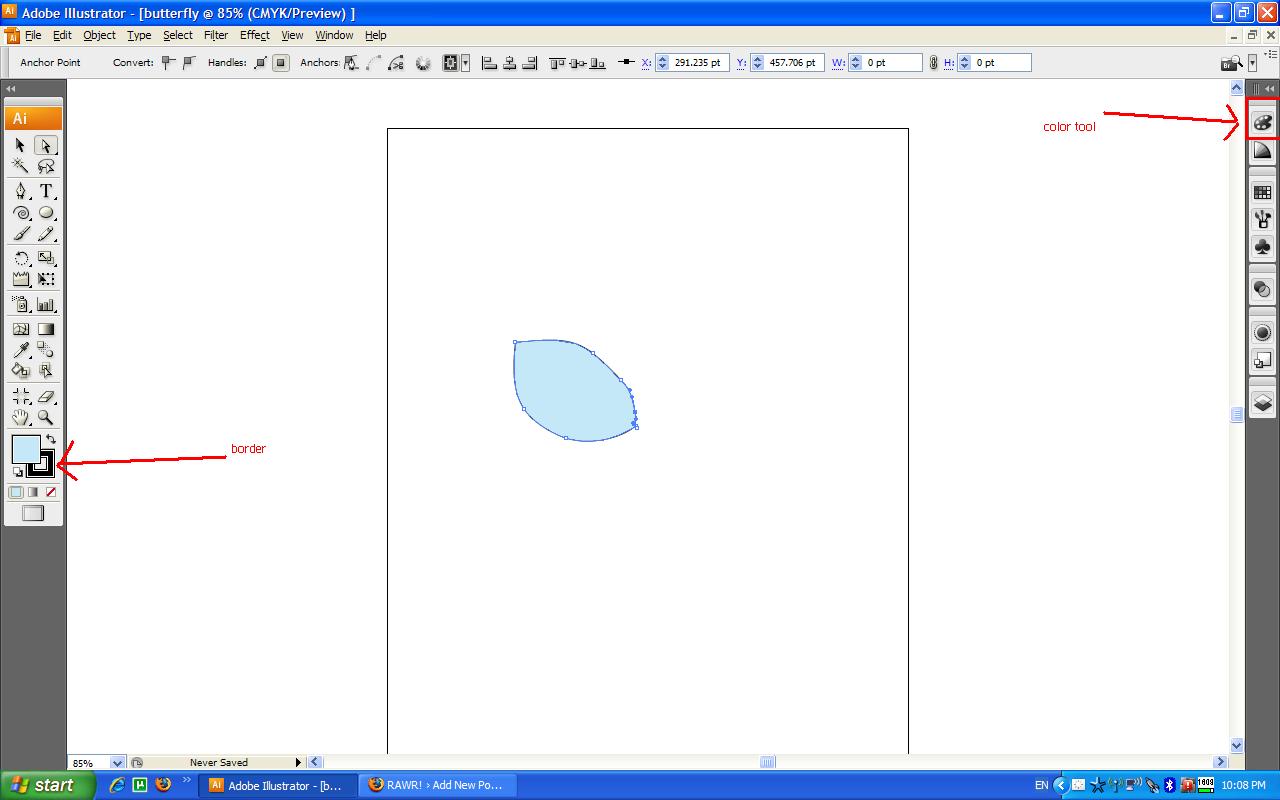
Then I filled it with a light blue colour with the Colour tool, and the border with black.
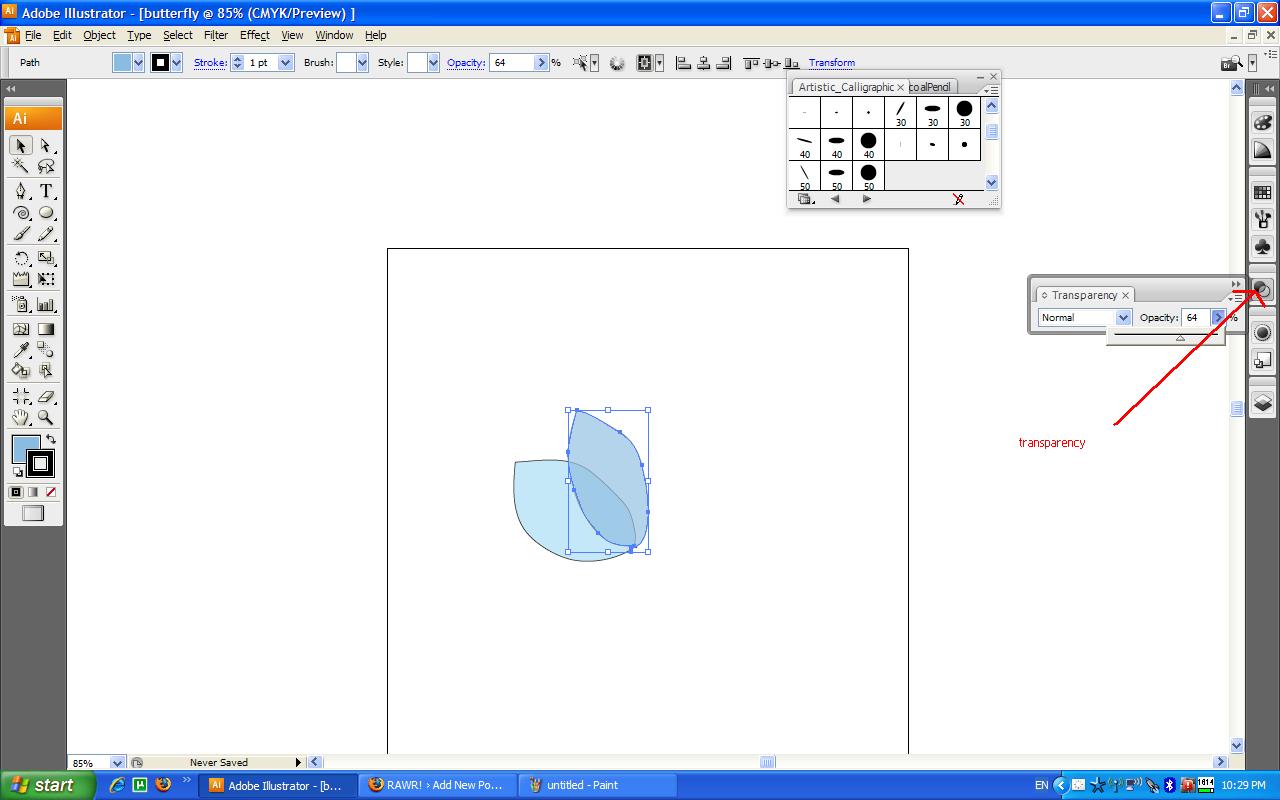
I drew a second wing shape with the Pencil tool again overlapping the first wing. This time I filled it with a darker blue.
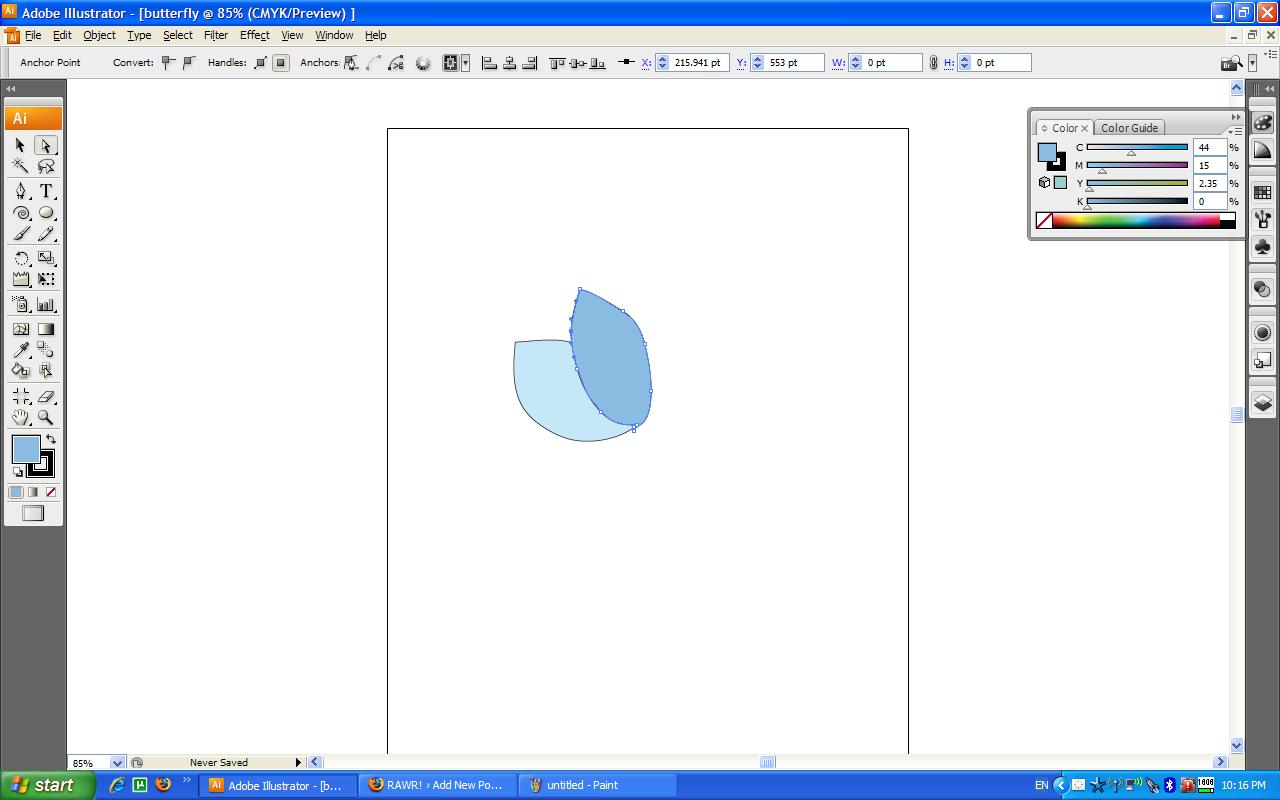
I set the opacity on the transparency tool so that the backwing is visible
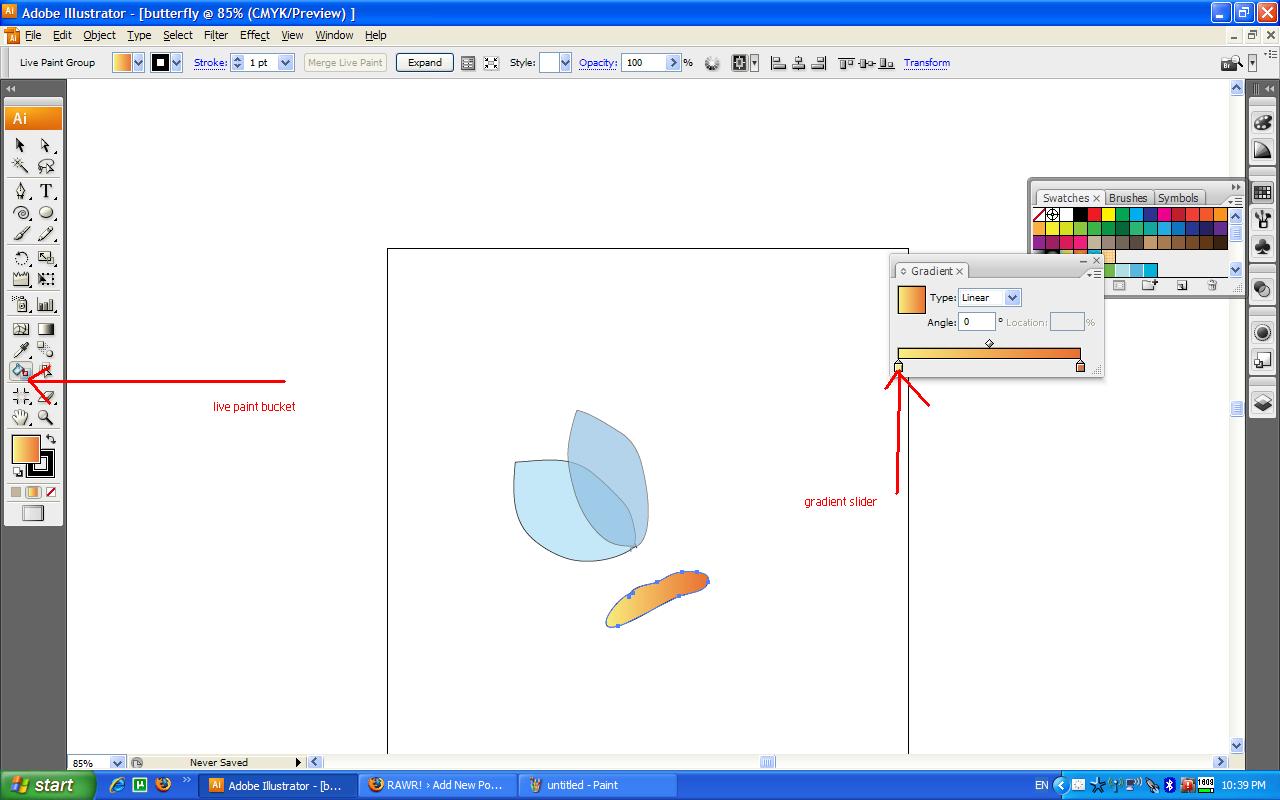
Next. again with the pencil tool, I draw a shape of the abdomen. This might not be perfect on the first try so I perfect it with the drag selection tool. Next I click on live paint bucket and make a live paint bucket from my selection of the abdomen. I then fill this in. I click on swatches and select an orange gradient. To change the degree of the gradient, I click on gradient (Window > Gradient) and drag the gradient slider around. To change colour I double click on the gradient slider which would bring me to the colour picker to choose a new colour.
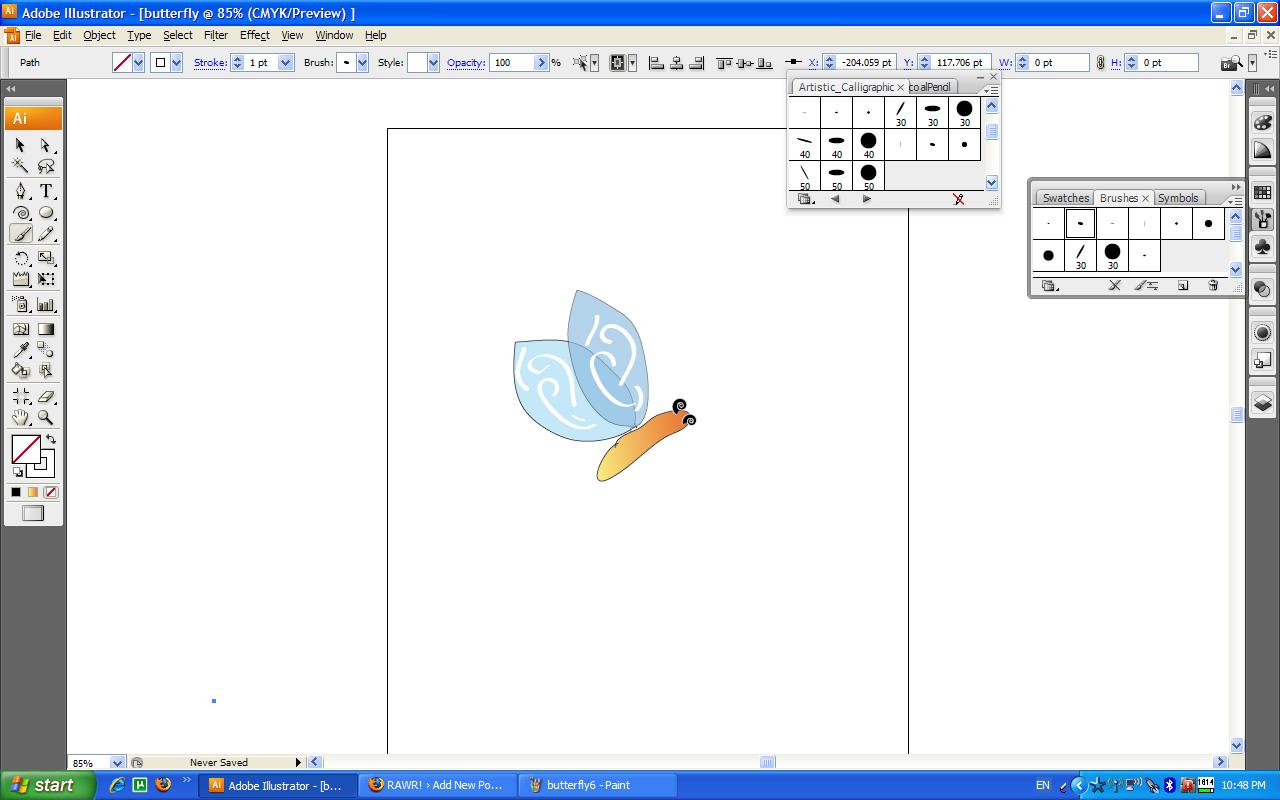
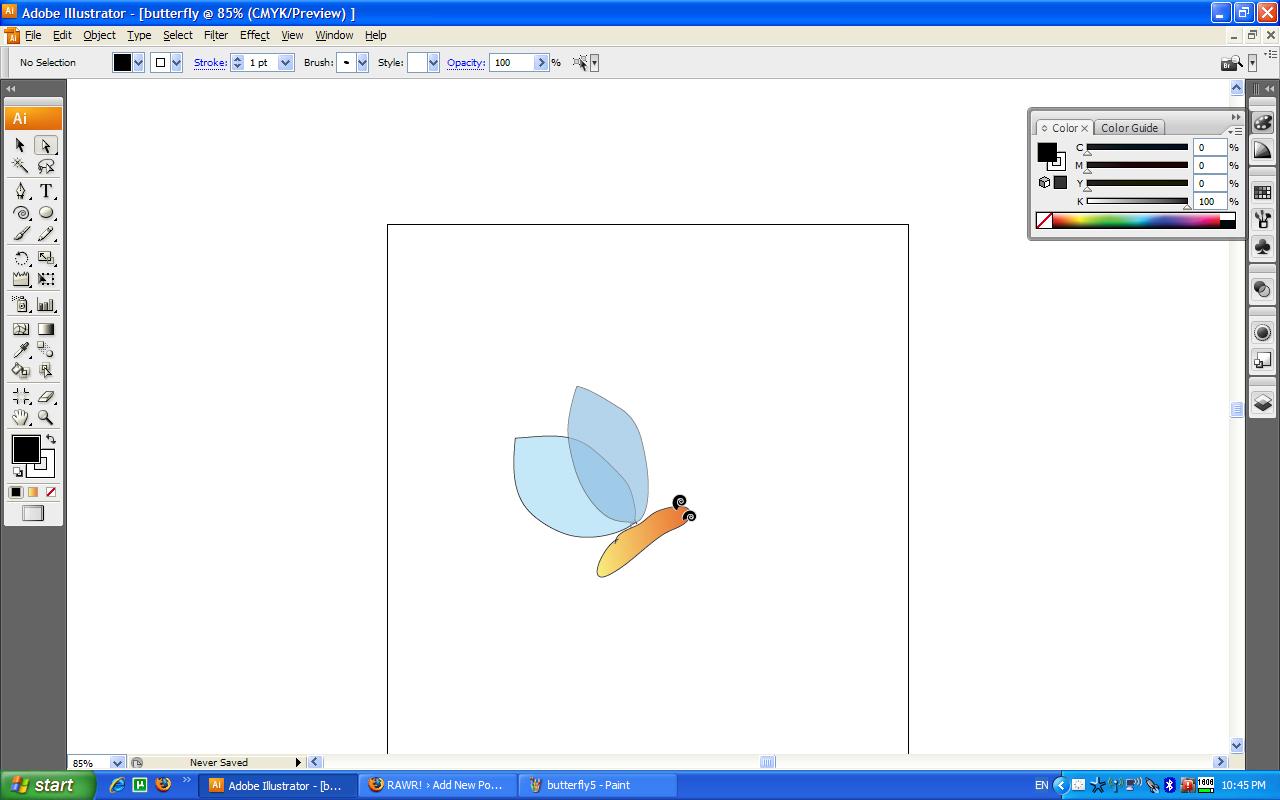
Next I make the feelers. I make this with the Spiral tool hiding under the line segment tool. First I selected fill as black, and then the border as white. I then draw two spirals which I transform and edit to fit around the head.
Almost finished! The wing looks a bit dull so I add patterns with the brush tool. I select the shape I want and draw spirals in the wing.
Finished!, I can then save this as a symbol for future use.