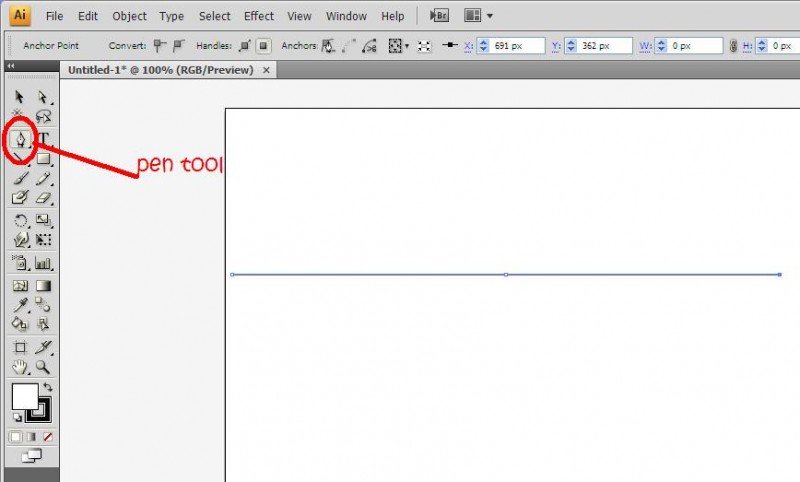
1. First, using the pen tool, draw a straight line with three anchors. I had a radius of 297 px so a total distance of 594px
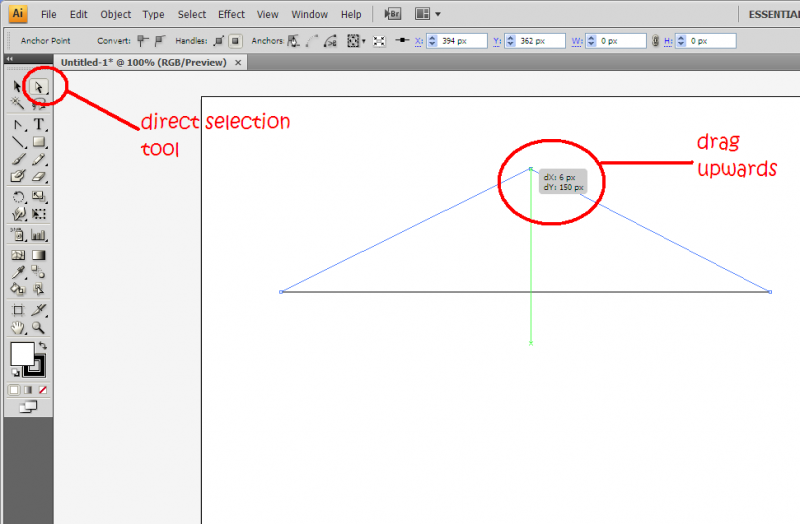
2. Next, using the direct selection tool (A) click on the middle anchor and drag it upwards. I dragged up about 150 px from the original distance.
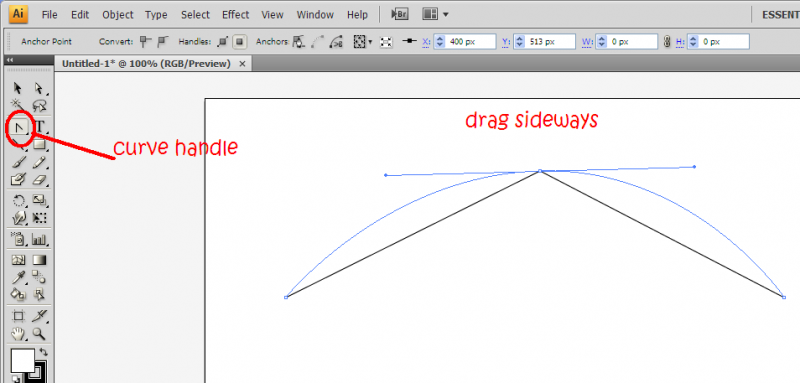
3. Using the curve handle (under the pen tool), drag the middle anchor sideways so you get a nice curve.
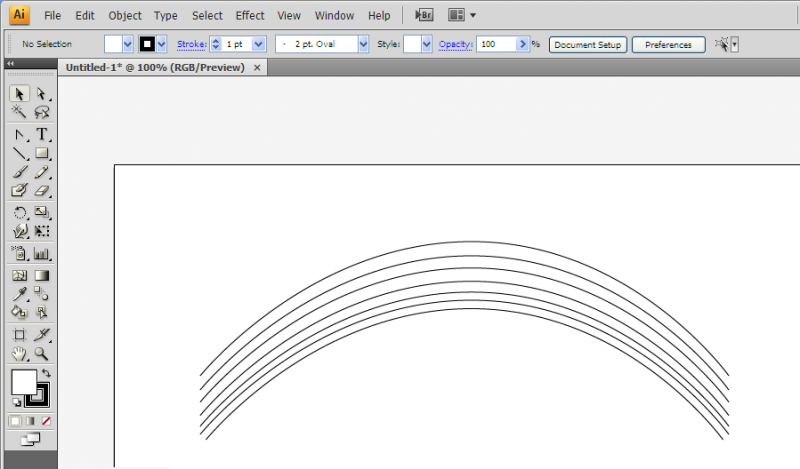
4. Duplicate this seven times, one for every colour of the rainbow 😉 Be sure to reduce the gaps as you go along because red is the most visible the purple the least. You might want to use the direct selection tool to bend the curves a bit as you go along arranging the curves.
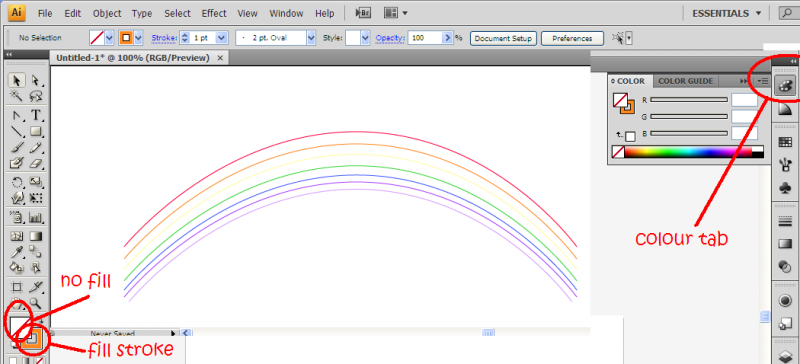
5. Colour each stroke from the top to the bottom as follows: Red>orange>yellow>green>blue>indigo>violet. No brownie points given as to why.
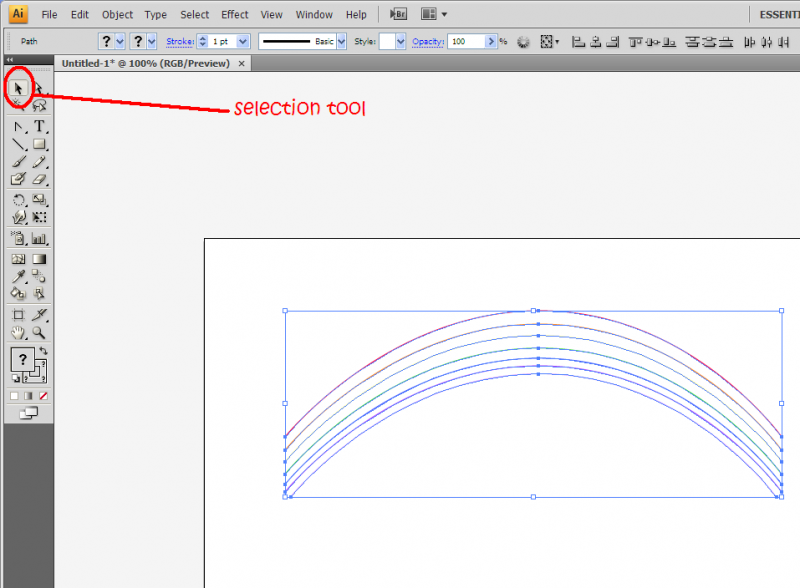
6. Using the selection tool (V), select all the paths
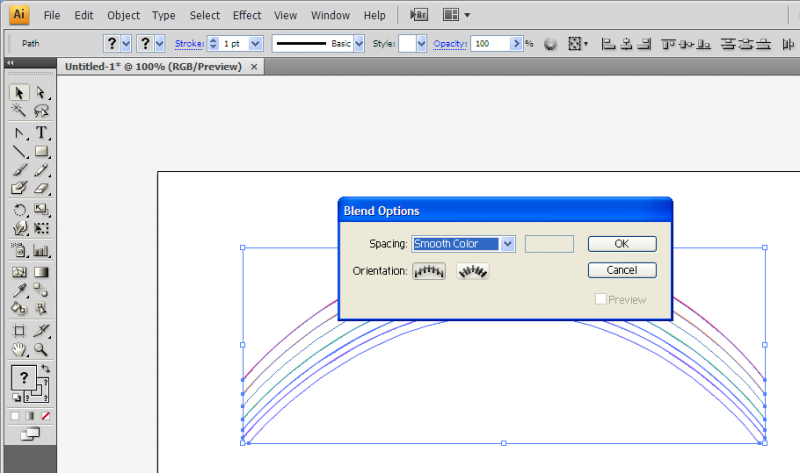
7. Next, go to Object>Blend>Blend options and choose smooth colour. Then, go to Object>Blend>Make (Alt+Ctrl+B)
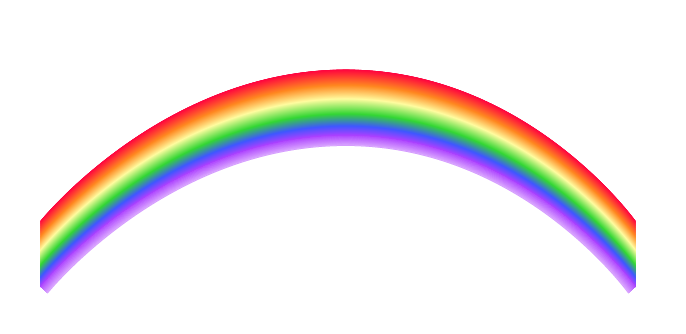
There you have it, your own rainbow!


