How to make animated GIFs extension file using Photoshop

Ever wonder how to make an animated GIFs extension image file using Photoshop? Animated GIFs image is useful in many different occasions. Especially when you wish to create a banner on the web and didn't know what to do. Normally, what all of us will do is to search for any program that can assist us with this task. But usually it is quite difficult to find something free and powerful enough to make an animated GIFs image without watermark or restrictions. Luckily, Photoshop is able to do this for you without any extension plugin or difficult procedure. In this article, we will look at how animated GIFs image can be achieved using Photoshop.

Scrolling Animated GIFs with Photoshop

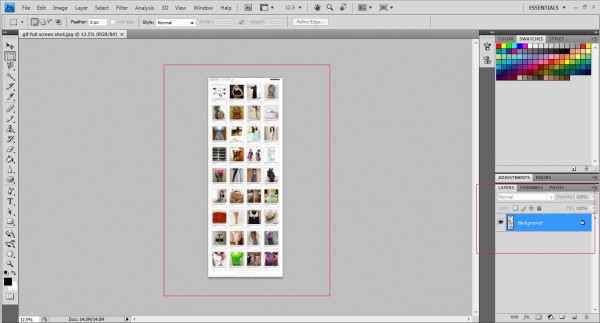
Let's start with something really simple. All you need is something like a full screen shot of your website such as this.

Open this image with your Photoshop apps and it will appear as a new layer as shown below,

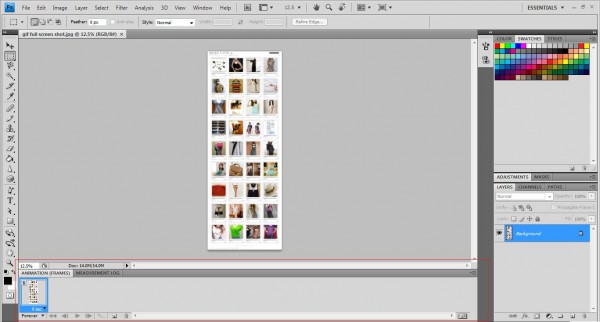
Now clicked on window->animation on the top menu bar and the animation bar will appear below.

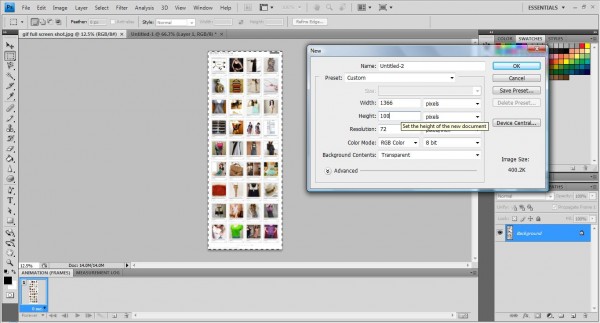
Now create a new photoshop file with the height differ from the image as shown below,

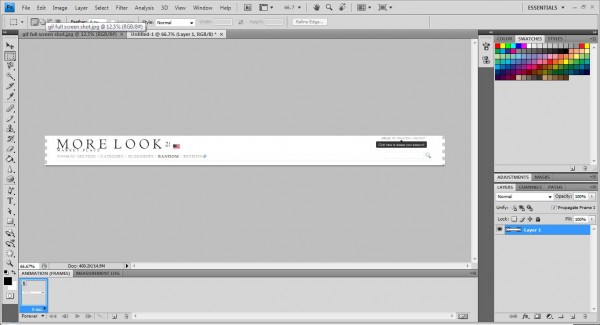
Now, copy the image shown above to the new file and you should get something like this.

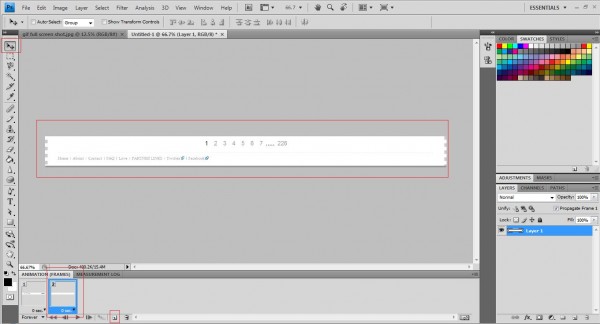
Next, create a new animation frame on the animation window as shown below,

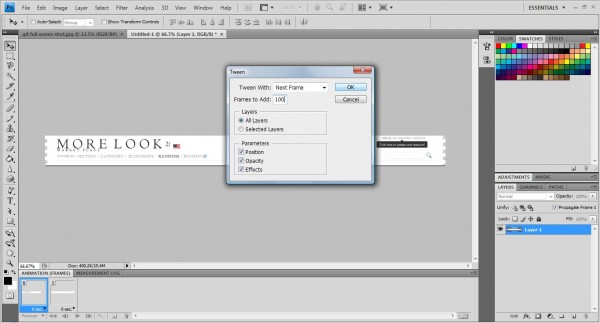
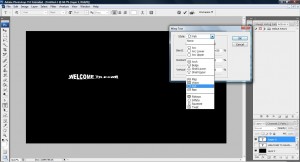
Now, use the Move Tool to move the image right down to the bottom as shown above. Clicked on the first frame and press on  "Tweens animation frames" and you will see the pop up as shown below.

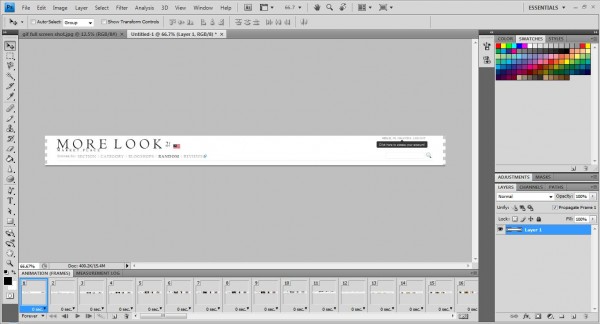
Once you pressed "Ok" button, a list of frames will be added between the first and second frame. This means that it will animate from the first frame to the last frame by putting in additional frame to initialize the movement from the first to the last frame.

Now all you need to do is to clicked on the play button to see the animation from the first frame all the way to last last one.  You can change the animation to forever, just once or 3 times by clicking on the below line. There are a few options to choose, just play around with it and you should have a good idea what each icon does.

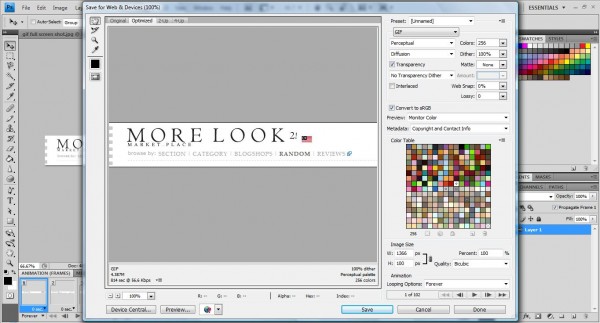
Now its time to save the gif file. Clicked on File->Save on Web & Devices as shown below,

Clicked save and you will have something like this.

Normal Animated GIFs Image With Photoshop

CreativeTechs has an excellent tutorial on basic animated GIFs tutorial. Do read it up and you should get a very clear idea on how animated GIFs on Photoshop works 🙂

Tutorial: Basic Horizontal Type Tools Function

Here are some of the way you can work with Horizontal Type Tools.

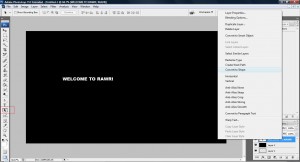
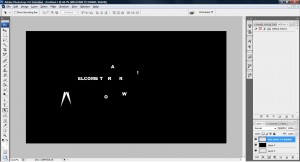
If you wish to split the character after you have finish typing, you can do this by right click your text layer and select 'Convert to Shape'. Once it has been converted, you can use 'Path Selection Tool' or 'Direct Selection tool' to move and manipulate your text.

untitled126

untitled127

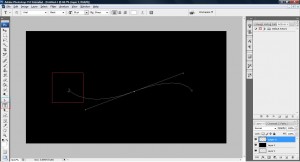
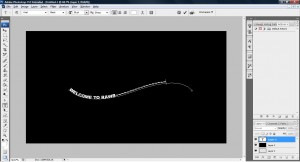
Well..If you would like your text to follow a path you can select your pen tools and draw the path. Next, use the Horizontal Type Tool and lookout for the symbol 'I' when your mouse go near the starting path drawn by your pen tools. Once you get it, click on it and start typing your text.

untitled128

untitled129

If you would like to extract the background of your written text, you can do this by using the Horizontal Type Mask Tool. Use that and type your text on the image you wish the text to have(Make sure the layer you used this tools have the background on it). Since our selection is still there, we have to reverse it, so we go to select->inverse and duplicate the layer. Finally, we click delete button on our keyboard to delete away all other text other than the text itself.

untitled130

untitled131

untitled132

If you would like your text to contain shape you can do click ont he icon 'Create Wraped Text' and it will give you a list of function you can do to wrap your text nicely.

untitled133

Other than the one mention above, you can style your text such as changing size,font etc. etc. It's all up to you~

Tutorial: How to add effects with brushes!

Being a novice in photoshop i would say this is the greatest finding i have since i started playing with photoshop! I never know that there is such a powerful tool that most designer have been using to enchance their image and design! I would like to share this awesome technique to you guys and hope you guys find this interesting too~

This technique has something to do with the 'Brush Tool'. We can actually add some of the ready made brushes to enhance the effects of our design. ( of course, some brushes are not for commercial) It's REALLY simple to create a design with all these ready made brushes! Let me give you a demonstration.

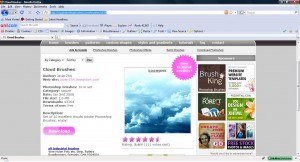
1. Visit this site and download the brushes you see.(There are a lot of them. Check them out!)

untitled121

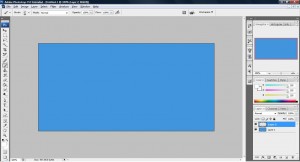
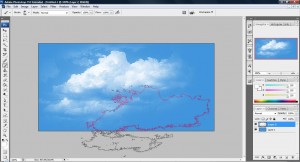
2. If you have no idea how to install the brushes, click here or visit the link shown on the above image. Once you have installed the brushes, fire up your photoshop and create a background in blue.

untitled122

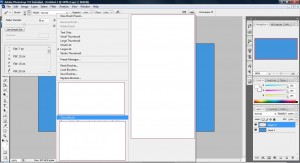
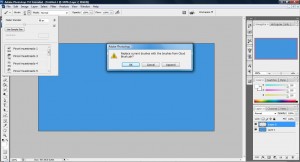
3.  Select your new brush (Usually its the same name as the file you place in your brush folder) and It will prompt you to overwrite the existing brush. Click HELL YEAH!

untitled123

untitled124

4. Once you have updated your brush, select one of it from the list and click on the workspace. Please bear in mind that your color must be different from the background color used.

untitled125

AWESOME! XD

This can also be applied on pattern when you want to make a great design for your background or button. But you will need to install it on the pattern folder and not the brushes folder. This technique also can be applied on different button and text which enchance the effects of your overall design.

Tutorial: How to add on special effect for your photography photo

Learn something new in photoshop today and would like to share with people who know my existence XD. This tutorial gives an idea on how some images bring fantastic effects on their photograph. I will demonstrate an example below,

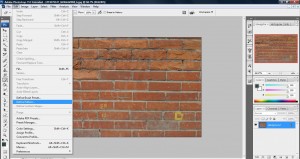
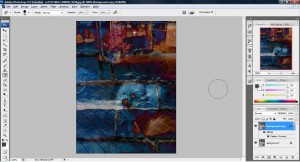
1. Fire up your photoshop and open any scene images you have and click Edit->Define Pattern, give it a name.

untitled116

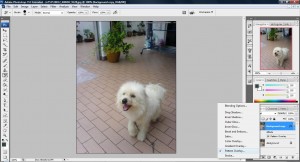
2. Now we have a new pattern we will open up another photo we want to give this effect to and on the Layer Palette look for the icon 'Add a layer style' and choose Pattern Overlay.

untitled117

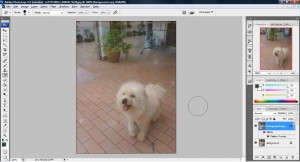
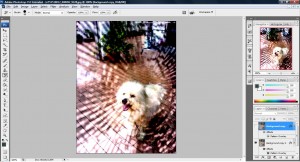
3. Now, choose the new pattern that you have define and play with the opacity and scale bar until it gets you something like this.

untitled118

Of course you can get a lot more effect than the one shown above, play around with the mode and you might just get what you want.

untitled119

The key point here is to use different texture found in our real world and apply it on the image itself to produce different effects. (google is your friend) Here are some example,

untitled120

In order to fully bring out this effect, we need to have a pattern which has a similar size as the image or else it won't be as good as expected. I am just showing how this effects can bring it to certain images but this kind of technique can also apply to different type of design such as buttons, background image,photography, etc.

Tutorial: How to write or design in chalk with this two technique

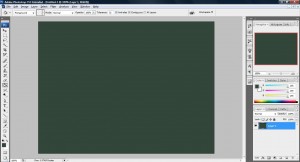
1. Fire up your photoshop and open up a workspace, change the background to a color where it fit the color of a blackboard(#33463a)

untitled108

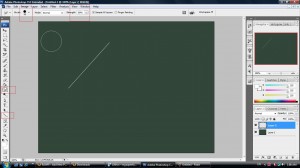
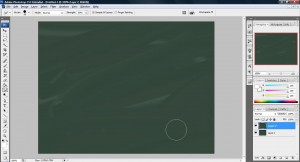
2. Create a new layer and mess up the blackboard so that it look like one! This can be done by using the smudge tool and some line drawn on the board. I used 1 line with a Smudge strength of 89% and a large enough pixel for me to swing continuously on the board to create a nice effect as shown below.

untitled110

untitled109

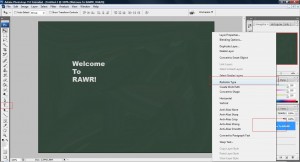
3. Use the Horizontal Type Tools with color (#d7d7d7) and write something on the blackboard. Next, Rasterize it.

untitled111

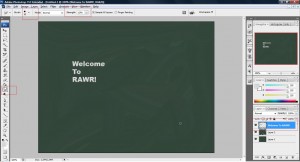
4. Now, use the Smudge tool and rub the text until you get an effect which feel like a chalk.

untitled113

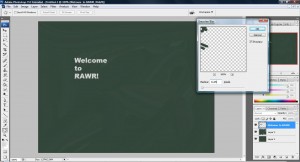
5. Finally, add some blur to it by doing this, Filter->Blur->Gaussian Blur, 2.5 Radius.

untitled112

OR

if you would like a nice drawing that looks like a chalk drawn you can do this,

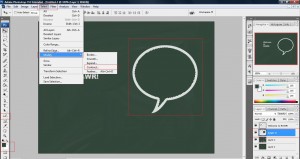
1. Create a new layer and draw a bubble shape in the same color as shown above and contract it by 10px then color it with the blackboard color as shown below,

untitled114

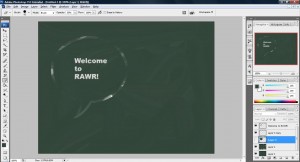
2. Next, take the Eraser tool and adjust its opacity to 50% and start erasing the shape until you get something like this. You can duplicate this image before applying Eraser tool to retry again for a better effect.

untitled115

Done!