


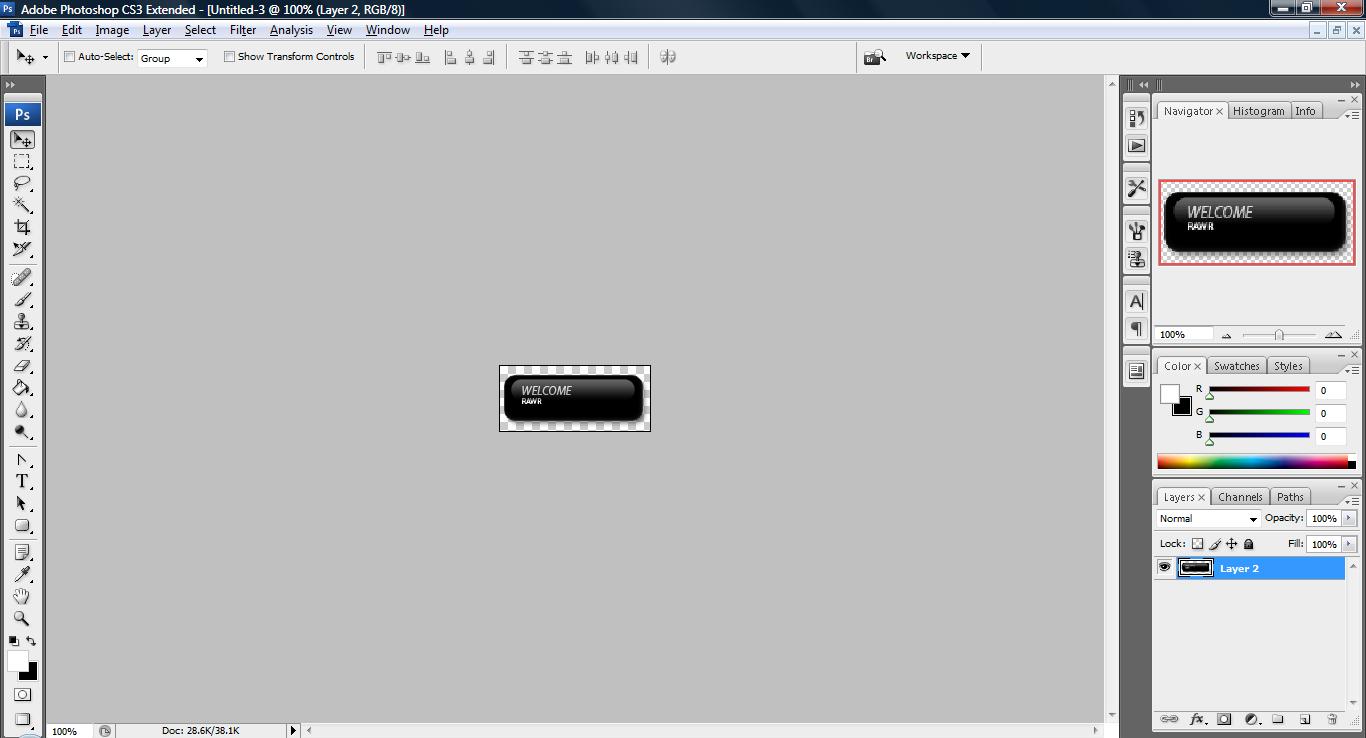
1. Fire up your photoshop and open up a workspace of the size 150, 65 with background transparent and draw a rounded rectangle as shown below.

2. Most of the technique to create a glow is to add a layer on top of the picture and gradient it with white and reduce its opacity. i will show two technique to do this. After we created the workspace as shown above, do a selection on the existing layer by clicking 'Ctrl+Click' on the layer. (selection means to select the layer) and click Select->Modify->Contract to reduce the size by 5px as illustrate below,

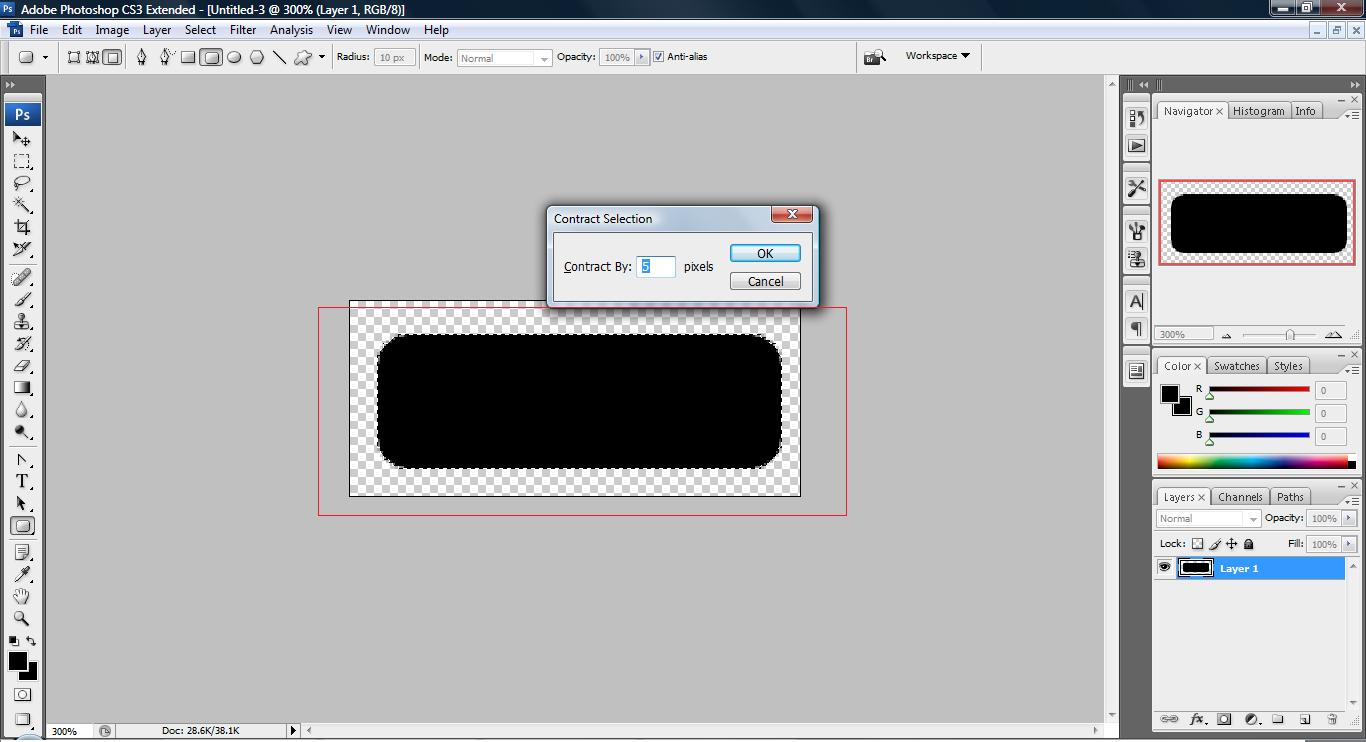
The red box indicate selection.
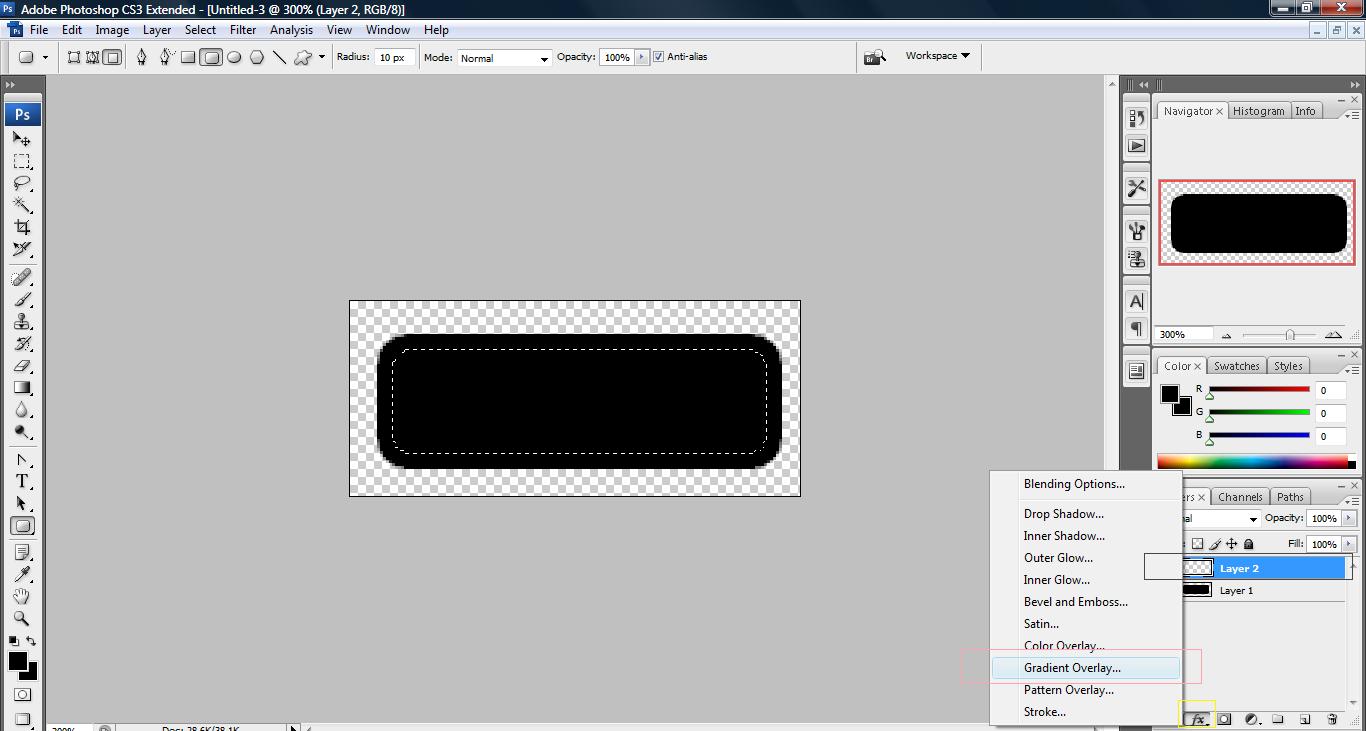
4. Now, create a new layer and paint it white using 'Paint Bucket Tool'.

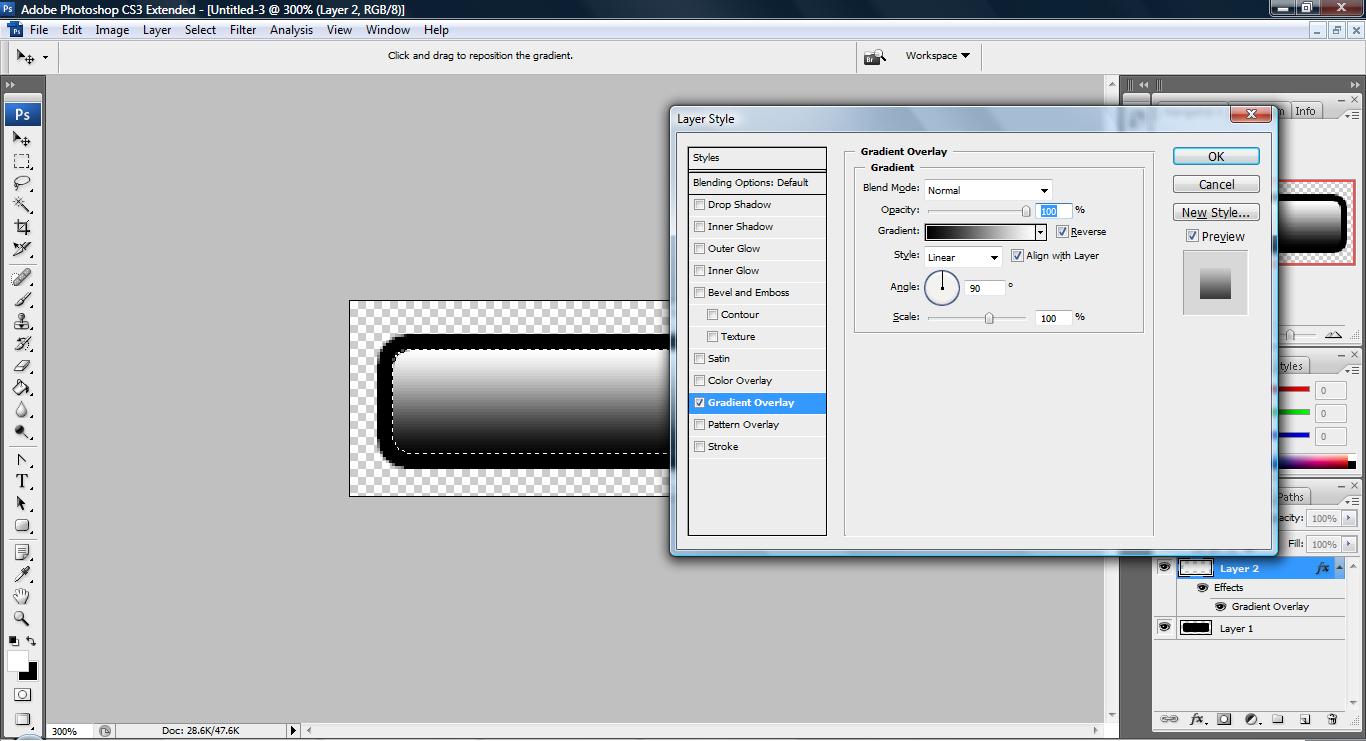
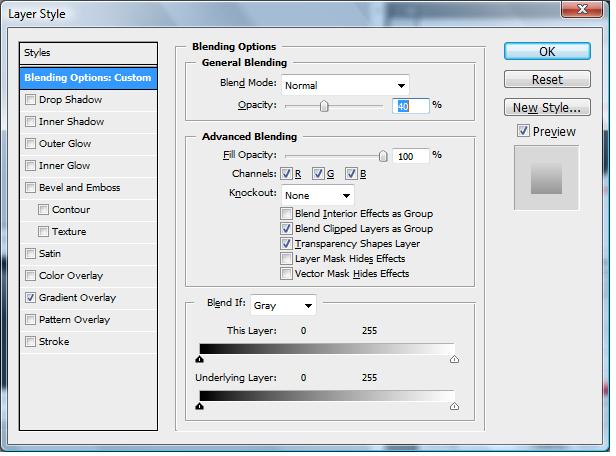
3. Now, on the new layer, look for the 'Add a layer style' icon and click on Gradient overlay and adjust the setting as shown below.
4. Next, we set the opacity to 60% on the Layer Palette and use our pen tools technique to remove the background on the lower part of the layer.
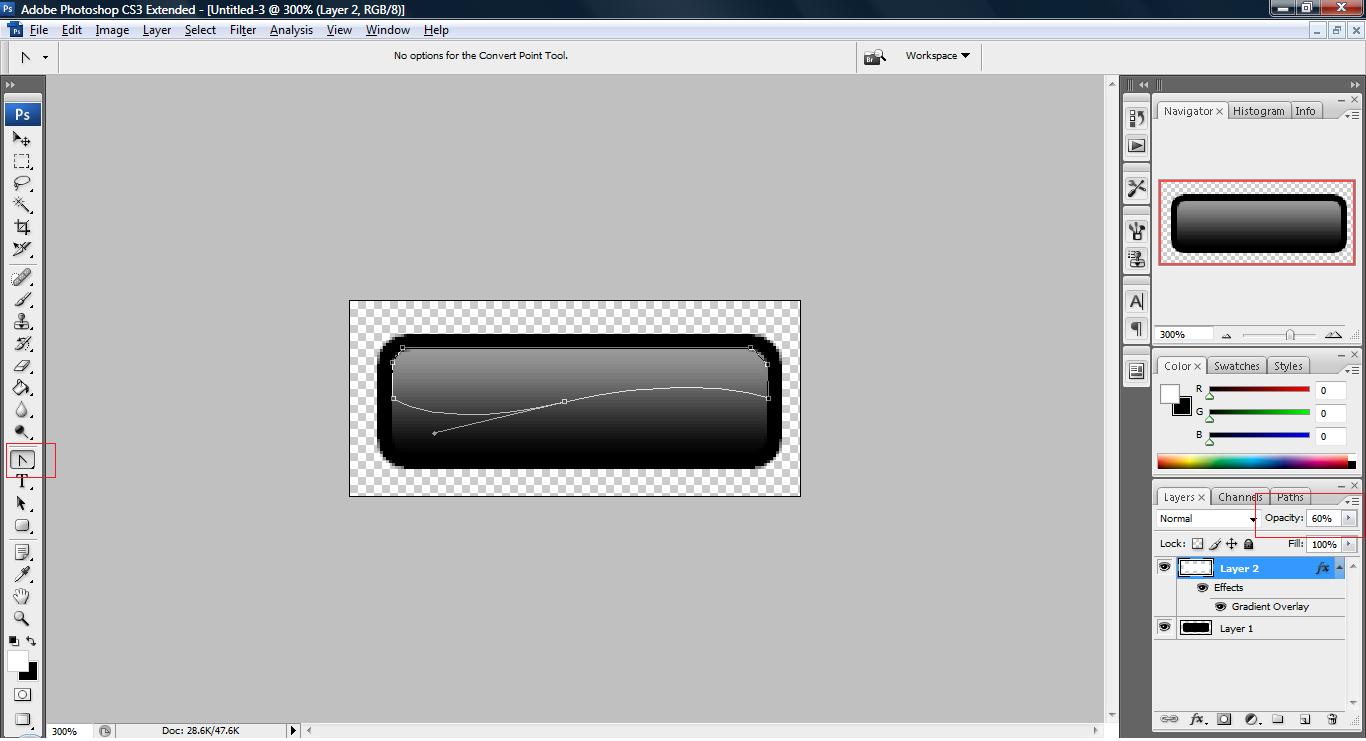
5. This way you get your top glow with some curve style.

6. With some style apply on the original layer, you can get a button such as the one shown below,

So this is the first technique use to add glow on your button the next one is shown below,
2. After you have done point 1., create a new layer and draw another white box on top of the rounded triangle. Look for the 'Add a style layer' icon and click on 'Gradient Overlay' and follow the setting below,


play with the gradient bar if you want to create different effects.
3. In blending option apply the setting as shown below,
4. You will have something like this,

5. if you style it a bit, it will produce something like this
6. And so on~
I'm really only demonstrating the various way of adding glow to your button and if you notice, only the methods used are different but the same thing apply on the image(white opacity object). Once you learn some of these tricks, you can create any kind of button you desire.
One thought on “Tutorial: How to add that glow on your button with various technique”
Comments are closed.