Ever wonder how to make an animated GIFs extension image file using Photoshop? Animated GIFs image is useful in many different occasions. Especially when you wish to create a banner on the web and didn't know what to do. Normally, what all of us will do is to search for any program that can assist us with this task. But usually it is quite difficult to find something free and powerful enough to make an animated GIFs image without watermark or restrictions. Luckily, Photoshop is able to do this for you without any extension plugin or difficult procedure. In this article, we will look at how animated GIFs image can be achieved using Photoshop.
Scrolling Animated GIFs with Photoshop
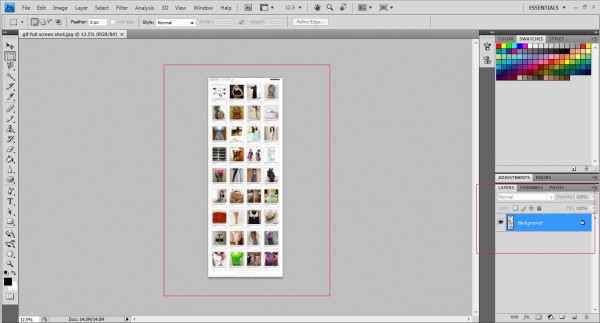
Let's start with something really simple. All you need is something like a full screen shot of your website such as this.

Open this image with your Photoshop apps and it will appear as a new layer as shown below,
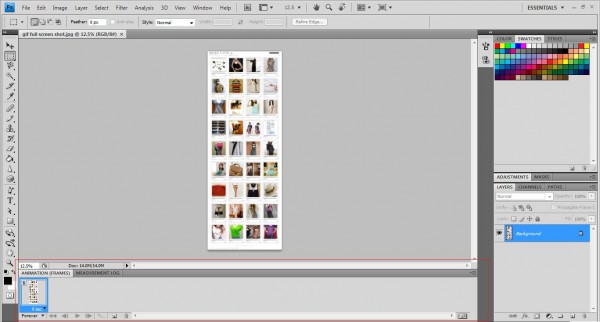
Now clicked on window->animation on the top menu bar and the animation bar will appear below.
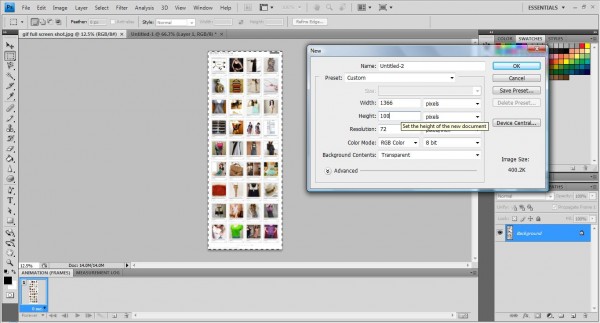
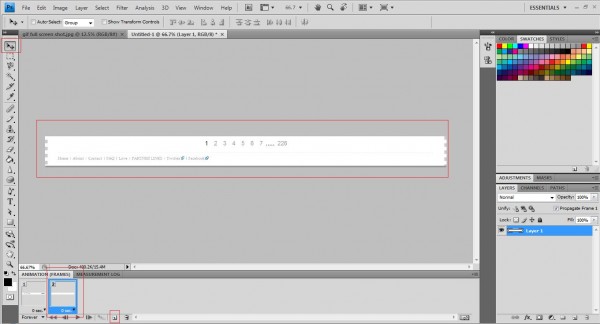
Now create a new photoshop file with the height differ from the image as shown below,
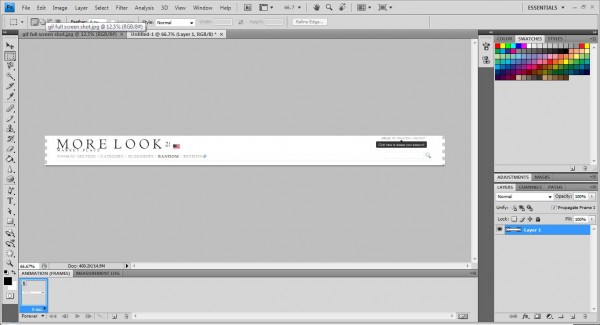
Now, copy the image shown above to the new file and you should get something like this.
Next, create a new animation frame on the animation window as shown below,
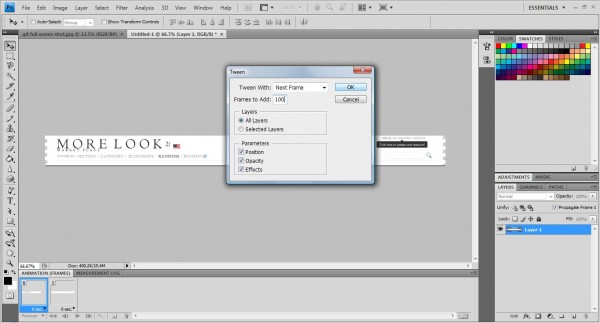
Now, use the Move Tool to move the image right down to the bottom as shown above. Clicked on the first frame and press on "Tweens animation frames" and you will see the pop up as shown below.
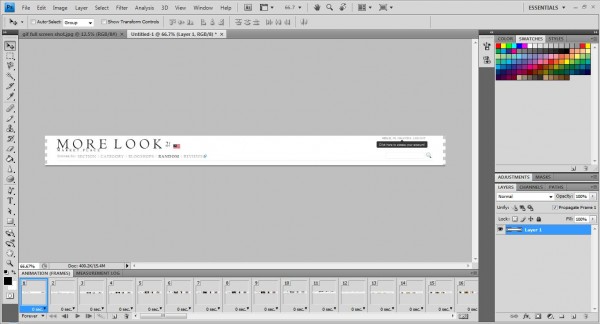
Once you pressed "Ok" button, a list of frames will be added between the first and second frame. This means that it will animate from the first frame to the last frame by putting in additional frame to initialize the movement from the first to the last frame.
Now all you need to do is to clicked on the play button to see the animation from the first frame all the way to last last one. You can change the animation to forever, just once or 3 times by clicking on the below line. There are a few options to choose, just play around with it and you should have a good idea what each icon does.
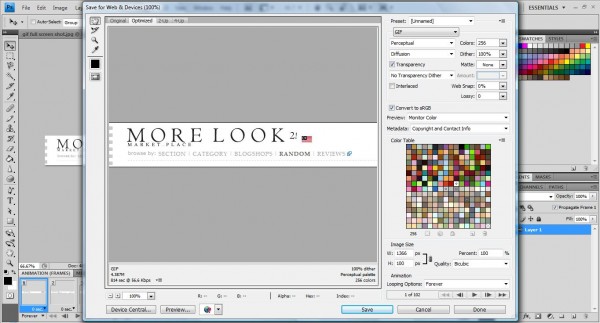
Now its time to save the gif file. Clicked on File->Save on Web & Devices as shown below,
Clicked save and you will have something like this.
Normal Animated GIFs Image With Photoshop
CreativeTechs has an excellent tutorial on basic animated GIFs tutorial. Do read it up and you should get a very clear idea on how animated GIFs on Photoshop works 🙂




You can create animated avatar using Video Avatar.Also convert video to gif. It's really cool program
Oh! Nice one Toby! But is it a paid program? 🙁
As free as Photoshop i guess