I decides to move to Yii finally after comparing between different framework. At this point, although Yii documentation wasn't as good as CI, it is not something that will restrict me from entering Yii framework. Like most people i started with the tutorial given on Yii website. Here is something i tried out today through the instruction given on the cookbook section. In this article, i will extend what is present in the article in a more visual form.
Requirement
Here are some of the basic requirement for this tutorial.
- Window XP (Vista and Win 7 will also work)
- Yii Framework 1.1.3
- WAMP 2.0i (Apache 2.2.11, PHP 5.3.0, MySQL 5.1.36, Phpmyadmin)
- Basic installation of WAMP (C:\\wamp\...)
Setting up yiic on WAMP
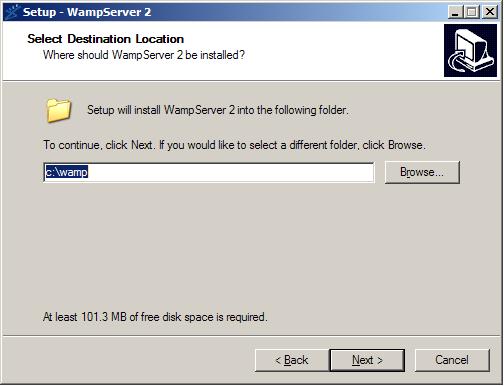
Firstly install your WAMP with the default installation.
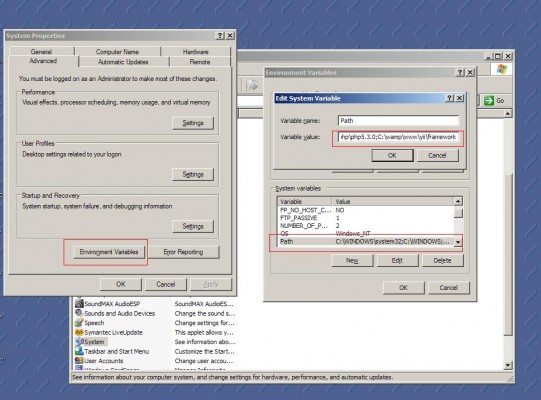
Once you have installed this, you should be ready to setup your computer local environment to use Yiic from Yii framework. Firstly, go to your environment variables located at Control Panel->System->Advance->Environment Variables->Path as shown below,
Once you reached the path textbox, entered the following location to tell your windows that they are the environment variables.
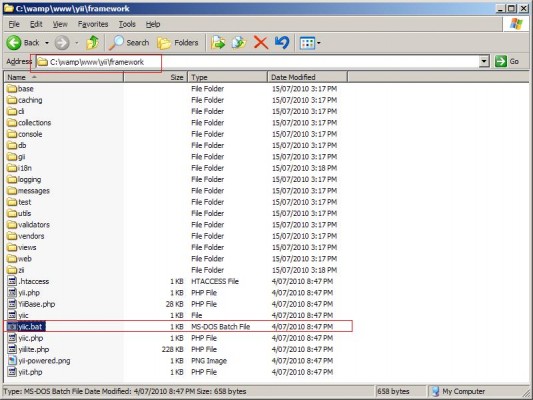
- C:\wamp\www\yii\framework
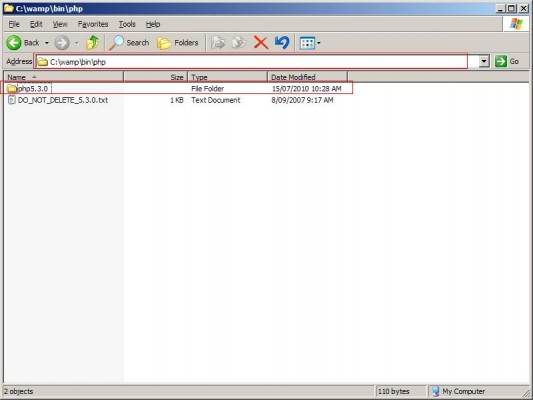
- C:\wamp\bin\php\php5.3.0
In this case, we are telling our window where is our yii framework yiic.bat and where is our php.exe as shown below,
since my WAMP is using php5.3.0, the folder shows the current version my WAMP is using. This might differ. Hence, change the directory path according to the php version you use. On the other hand, my yiic.bat is located at C:\wamp\www\yii\framework as shown below, hence, i pass this to the environment variable instead.
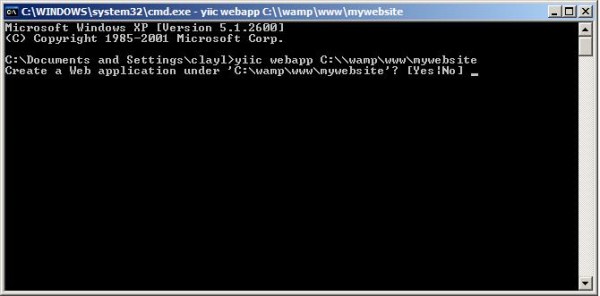
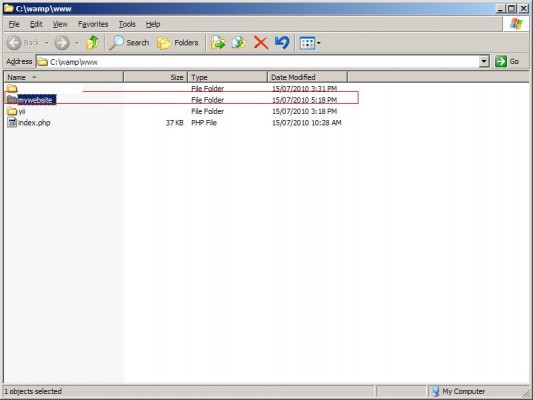
Click 'OK' for all the settings you have made and restart you PC. Once your windows has rebooted, click start->run.. and type 'cmd'. On the screen type "yiic webapp C:\\wamp\www\mywebsite" andtype 'yes". The folder should show up on your localhost.
Now you need to change your setting from sqllite3 to MySQL. This is located at C:\wamp\www\mywebsite\protected\config\main.php, open this file and replace the codes with the following.
<?php

// uncomment the following to define a path alias
// Yii::setPathOfAlias('local','path/to/local-folder');

// This is the main Web application configuration. Any writable
// CWebApplication properties can be configured here.
return array(
	'basePath'=>dirname(__FILE__).DIRECTORY_SEPARATOR.'..',
	'name'=>'My Web Application',

	// preloading 'log' component
	'preload'=>array('log'),

	// autoloading model and component classes
	'import'=>array(
		'application.models.*',
		'application.components.*',
	),

	// application components
	'components'=>array(
		'user'=>array(
			// enable cookie-based authentication
			'allowAutoLogin'=>true,
		),
		// uncomment the following to enable URLs in path-format
		/*
		'urlManager'=>array(
			'urlFormat'=>'path',
			'rules'=>array(
				'<controller:\w+>/<id:\d+>'=>'<controller>/view',
				'<controller:\w+>/<action:\w+>/<id:\d+>'=>'<controller>/<action>',
				'<controller:\w+>/<action:\w+>'=>'<controller>/<action>',
			),
		),
		*/
		'db'=>array(
			'connectionString' => 'mysql',
		),
		// uncomment the following to use a MySQL database

		'db'=>array(
			'connectionString' => 'mysql:host=localhost;dbname=yourdatabasename',
			'emulatePrepare' => true,
			'username' => 'root',
			'password' => '',
			'charset' => 'utf8',
		),

		'errorHandler'=>array(
			// use 'site/error' action to display errors
            'errorAction'=>'site/error',
        ),
		'log'=>array(
			'class'=>'CLogRouter',
			'routes'=>array(
				array(
					'class'=>'CFileLogRoute',
					'levels'=>'error, warning',
				),
				// uncomment the following to show log messages on web pages
				/*
				array(
					'class'=>'CWebLogRoute',
				),
				*/
			),
		),
	),

	// application-level parameters that can be accessed
	// using Yii::app()->params['paramName']
	'params'=>array(
		// this is used in contact page
		'adminEmail'=>'[email protected]',
	),
);
Change 'yourdatabasename' in the text above to your database name and you'r done!


